October 16, 2016
Andrea+John | Meritage Wedding Reception | + Taking Pretty Pictures in Dark Spaces
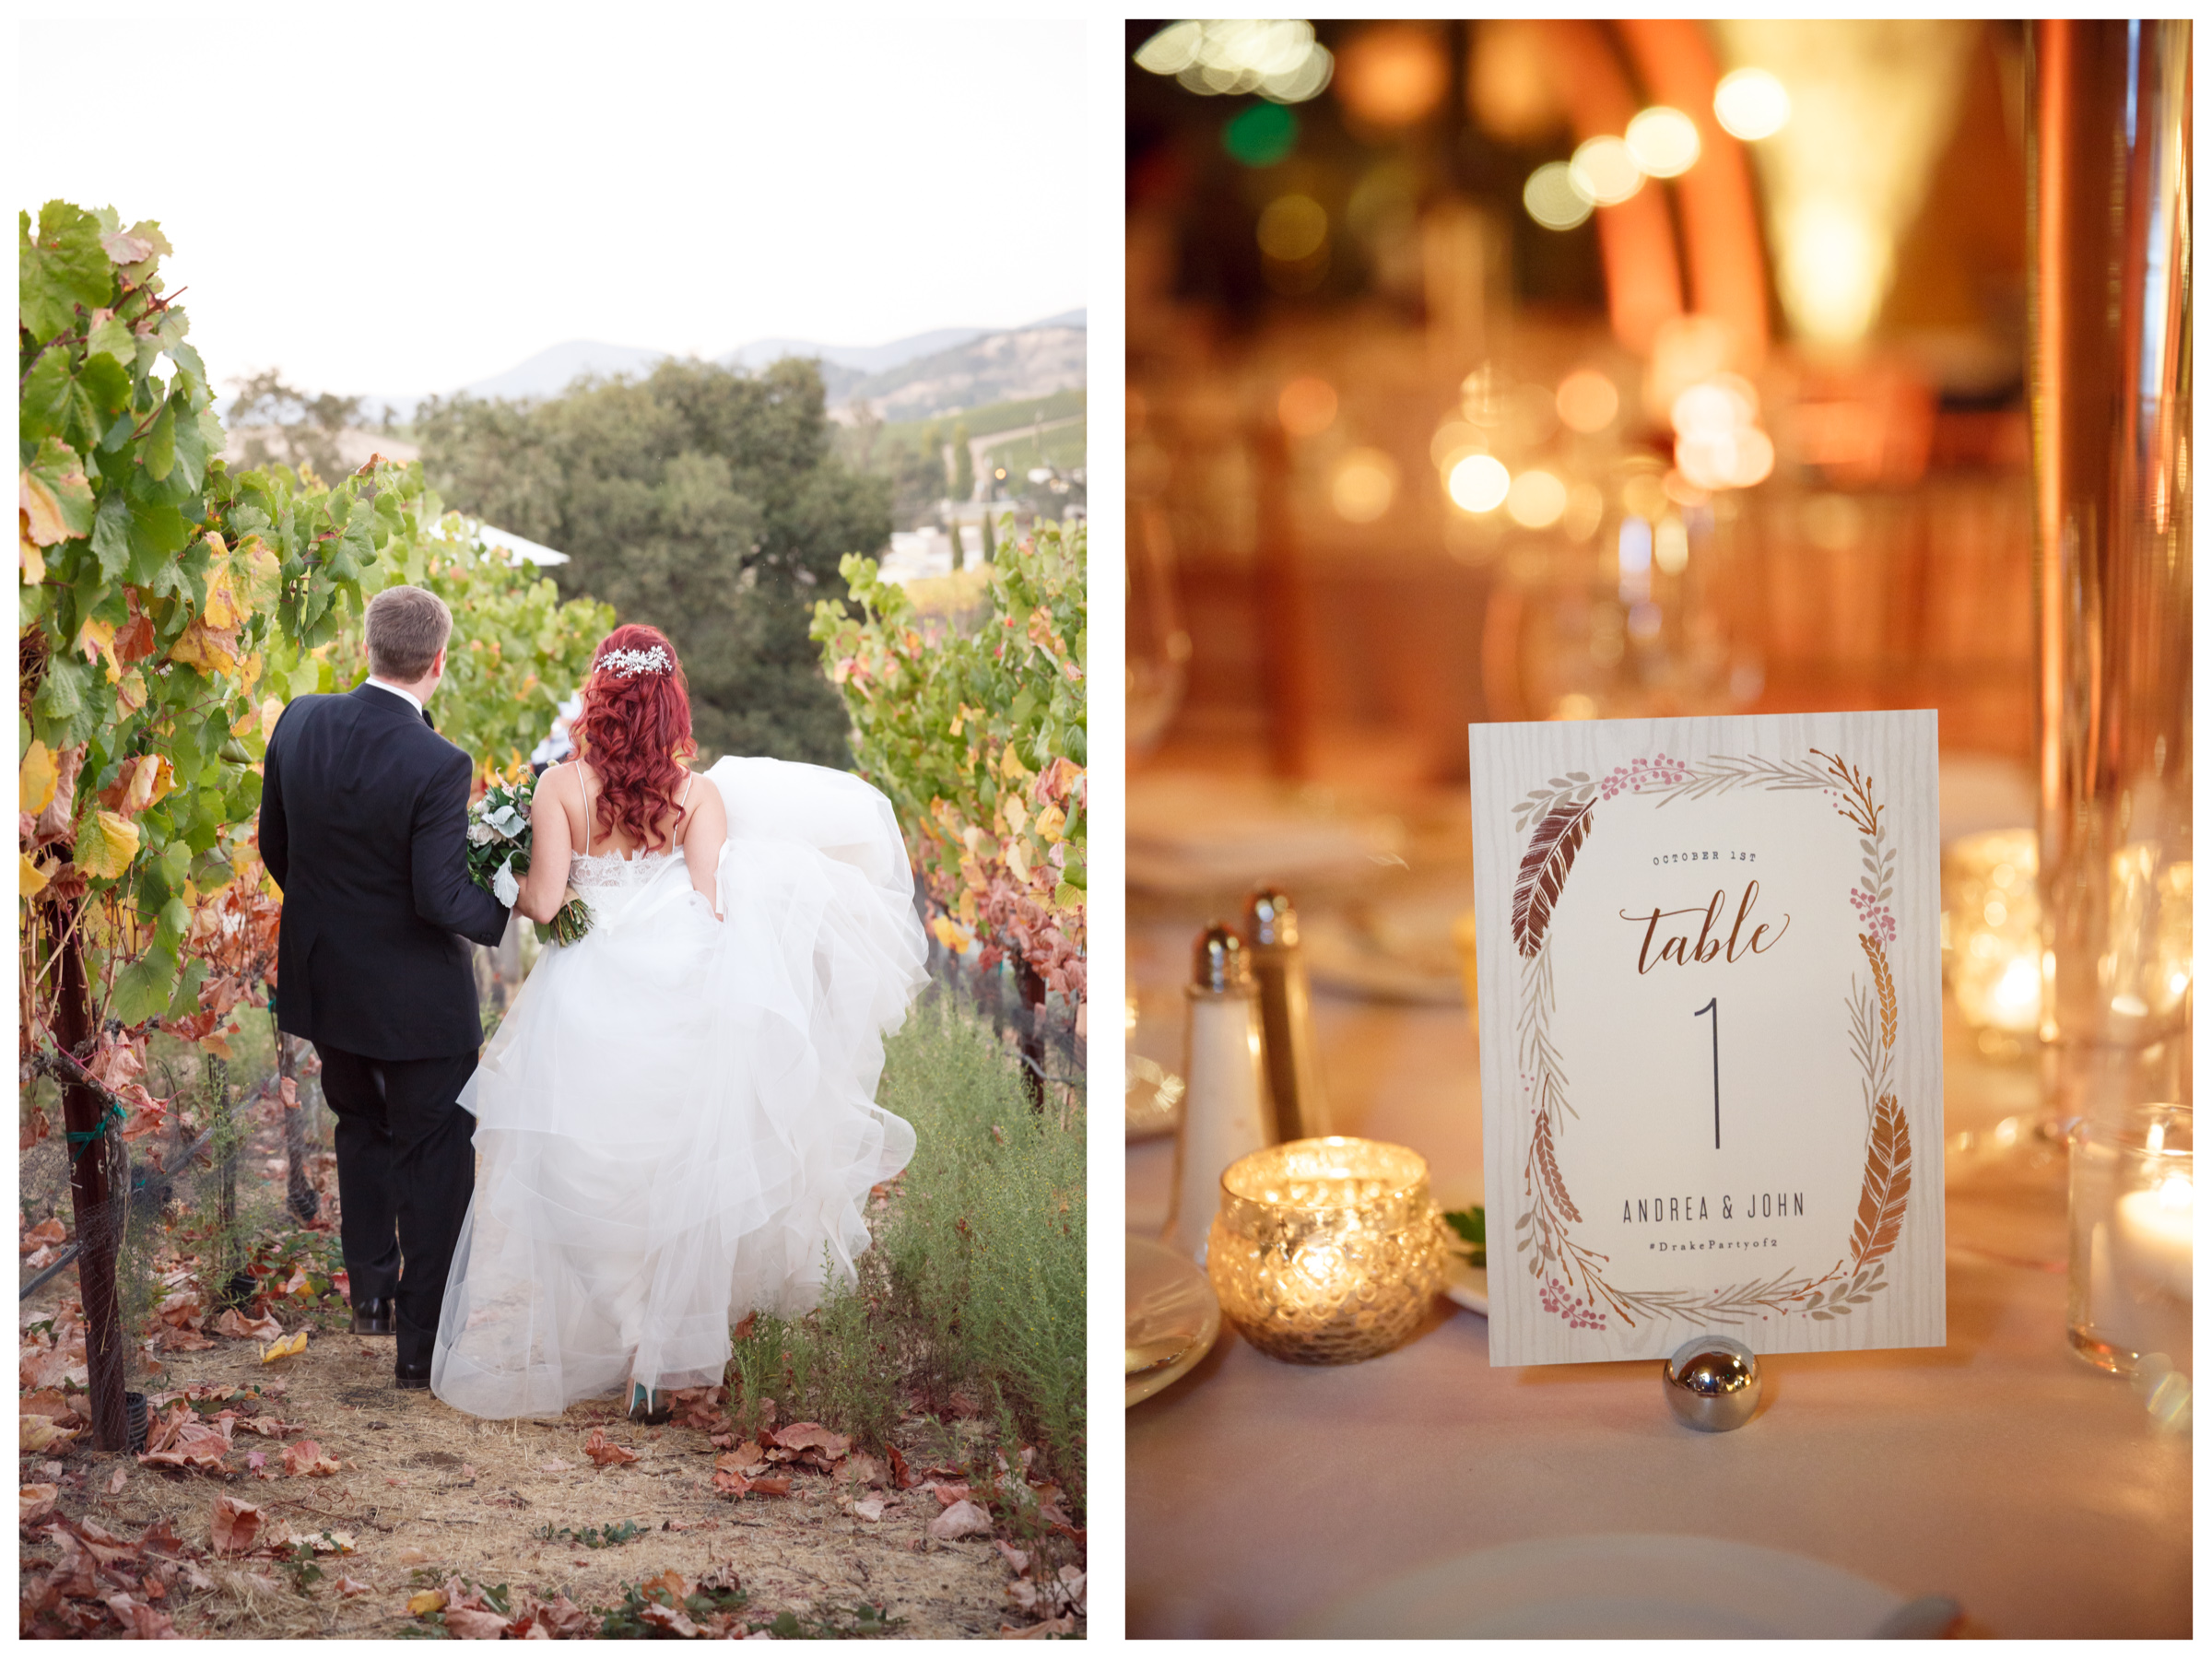
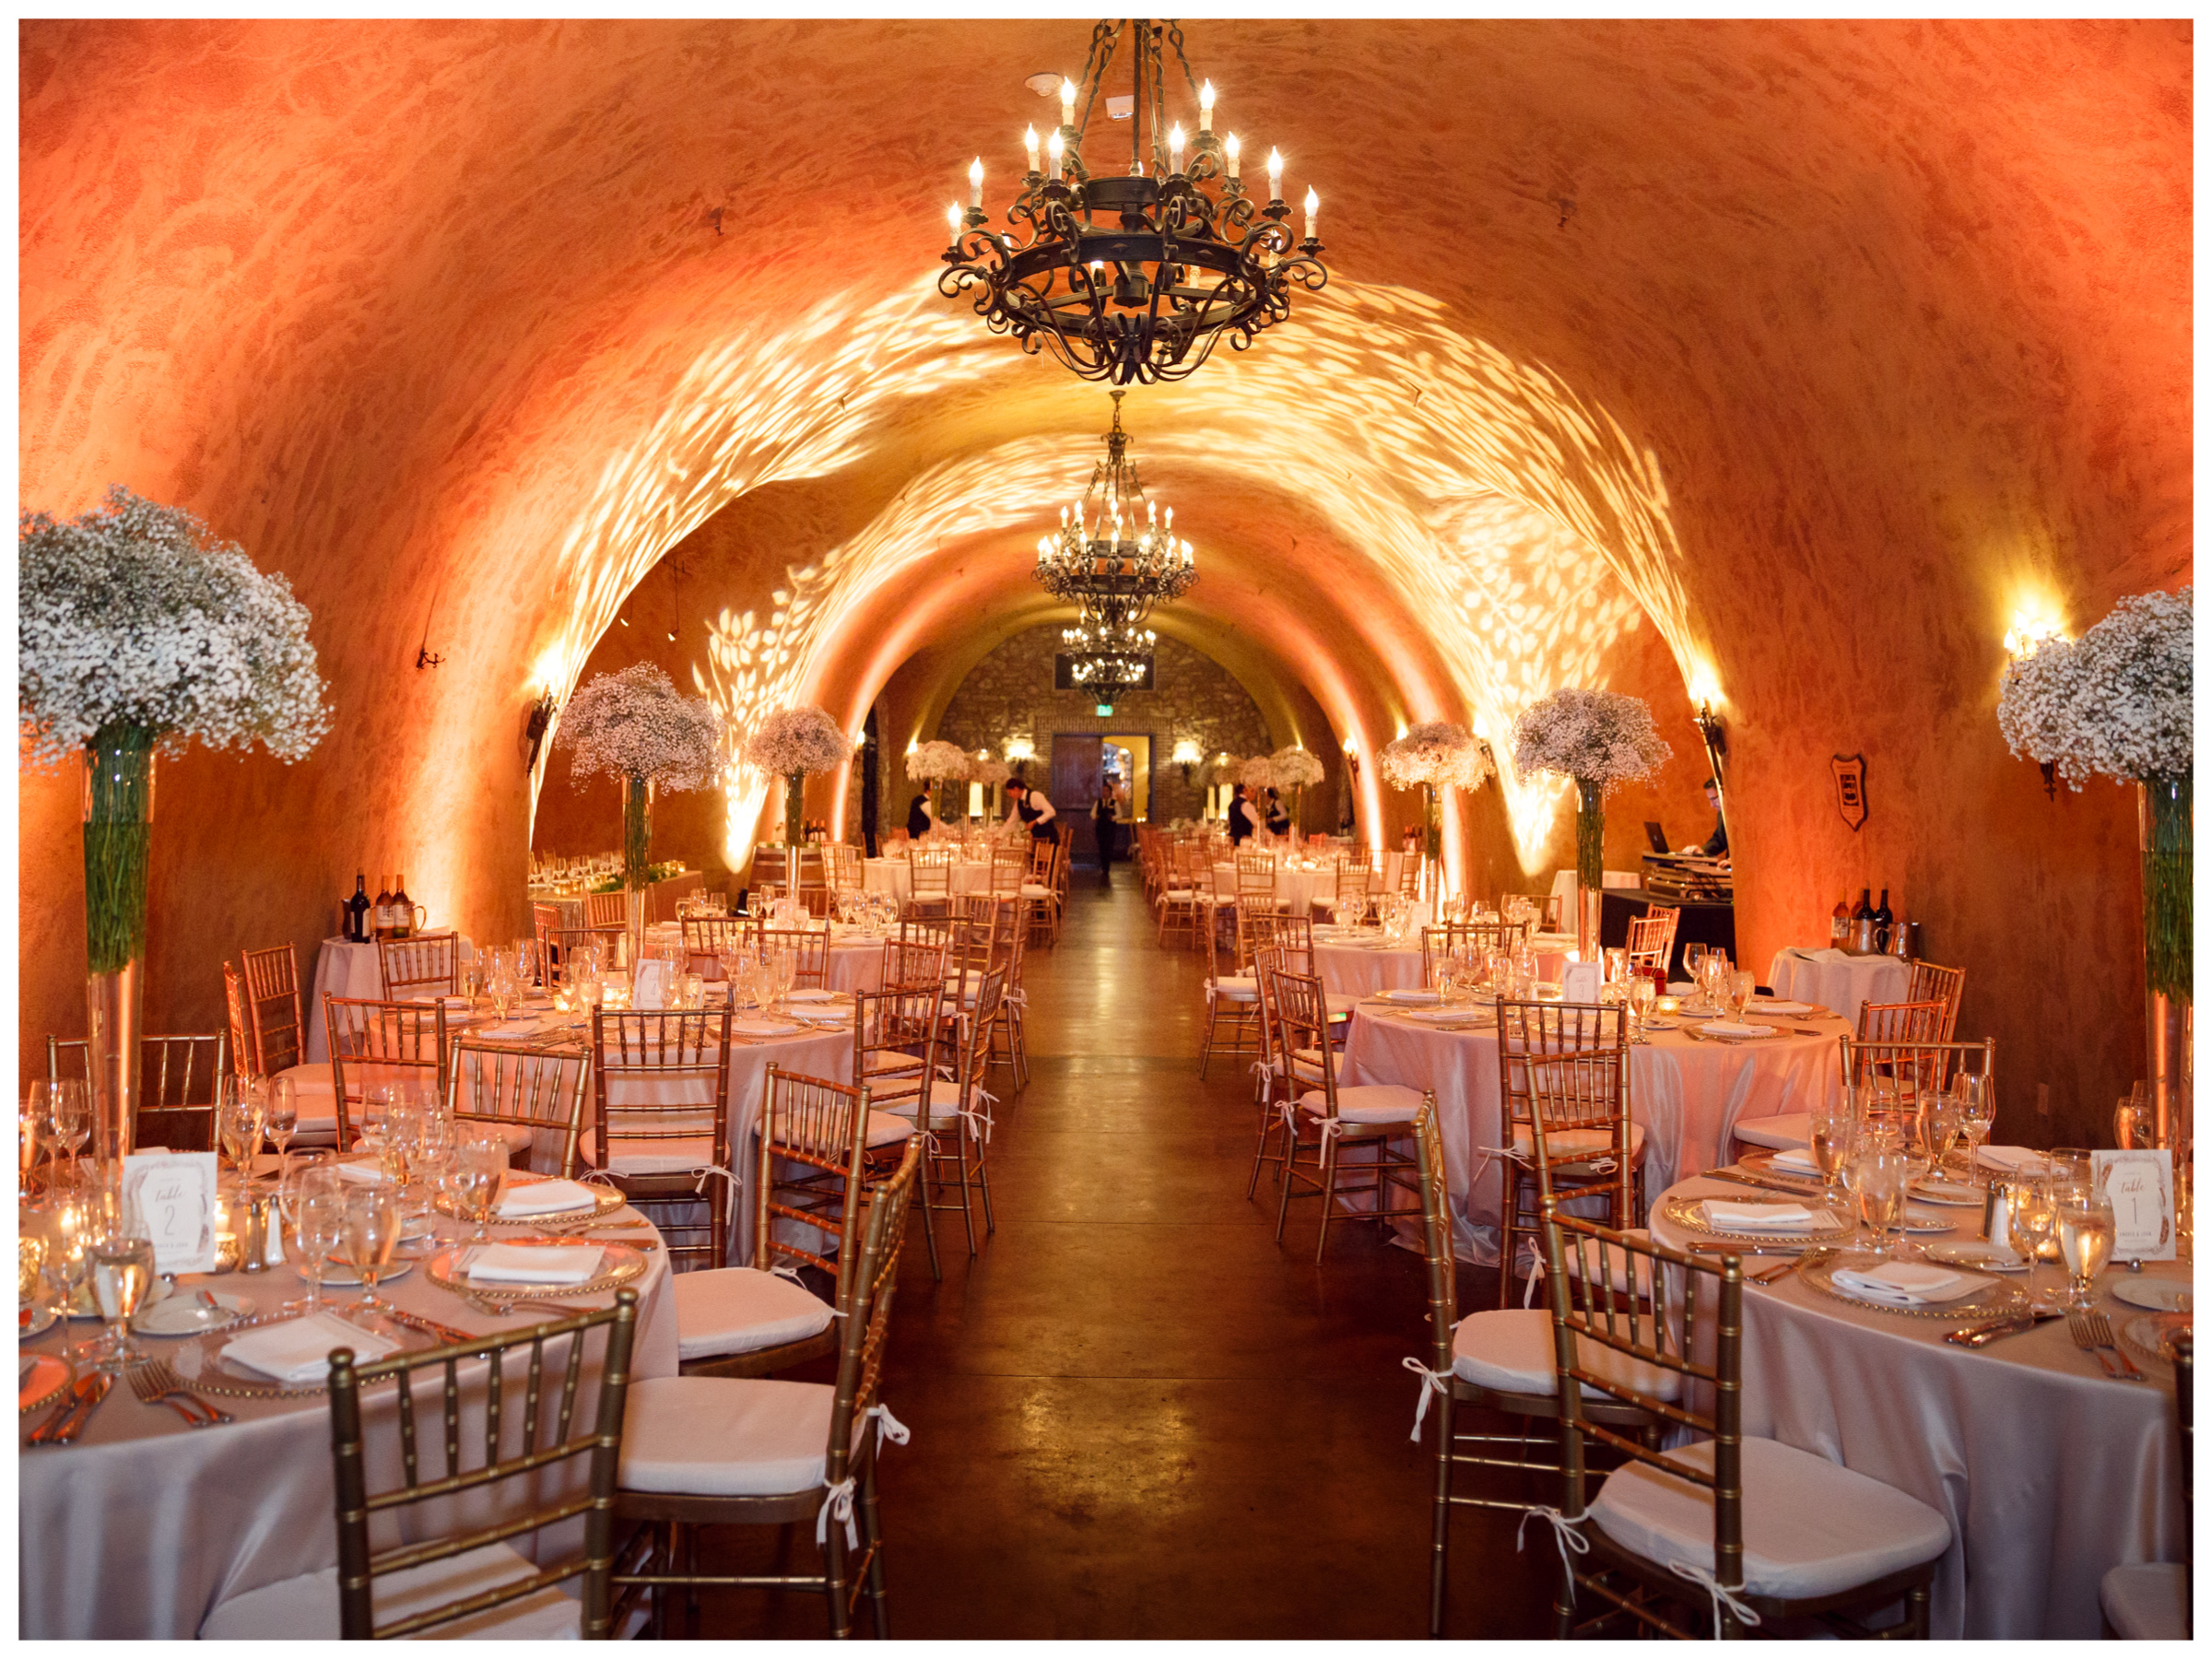
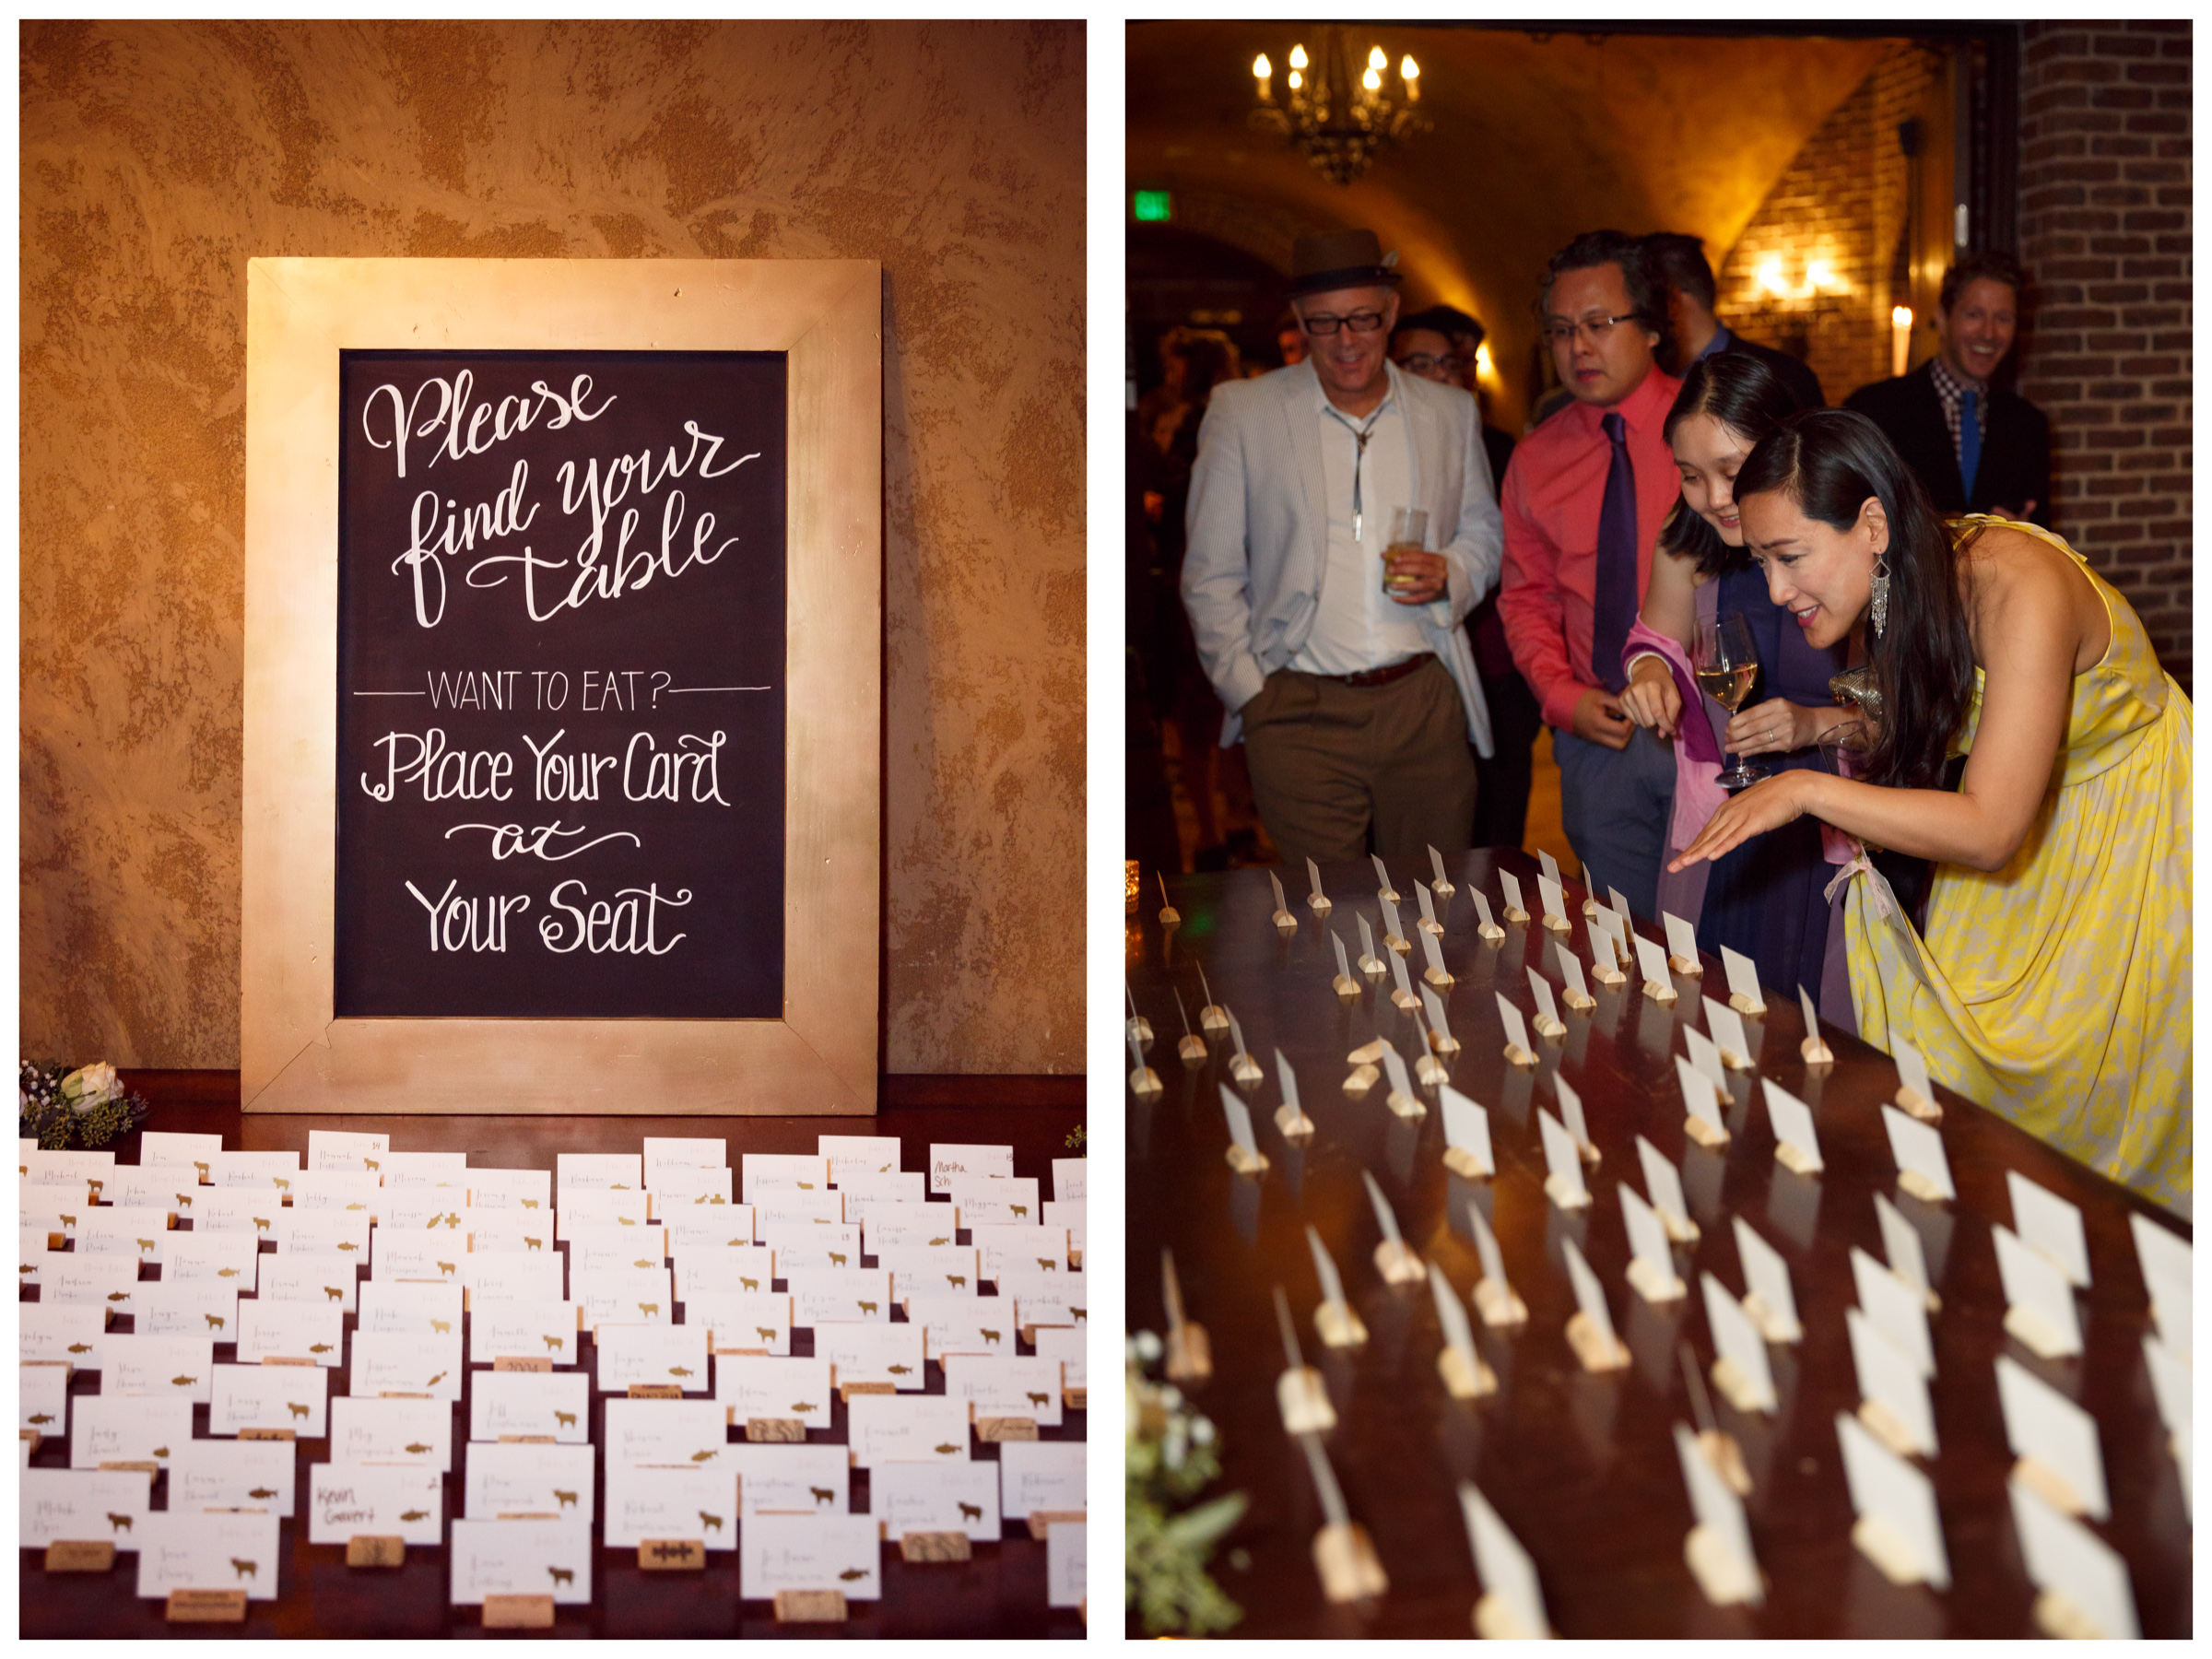
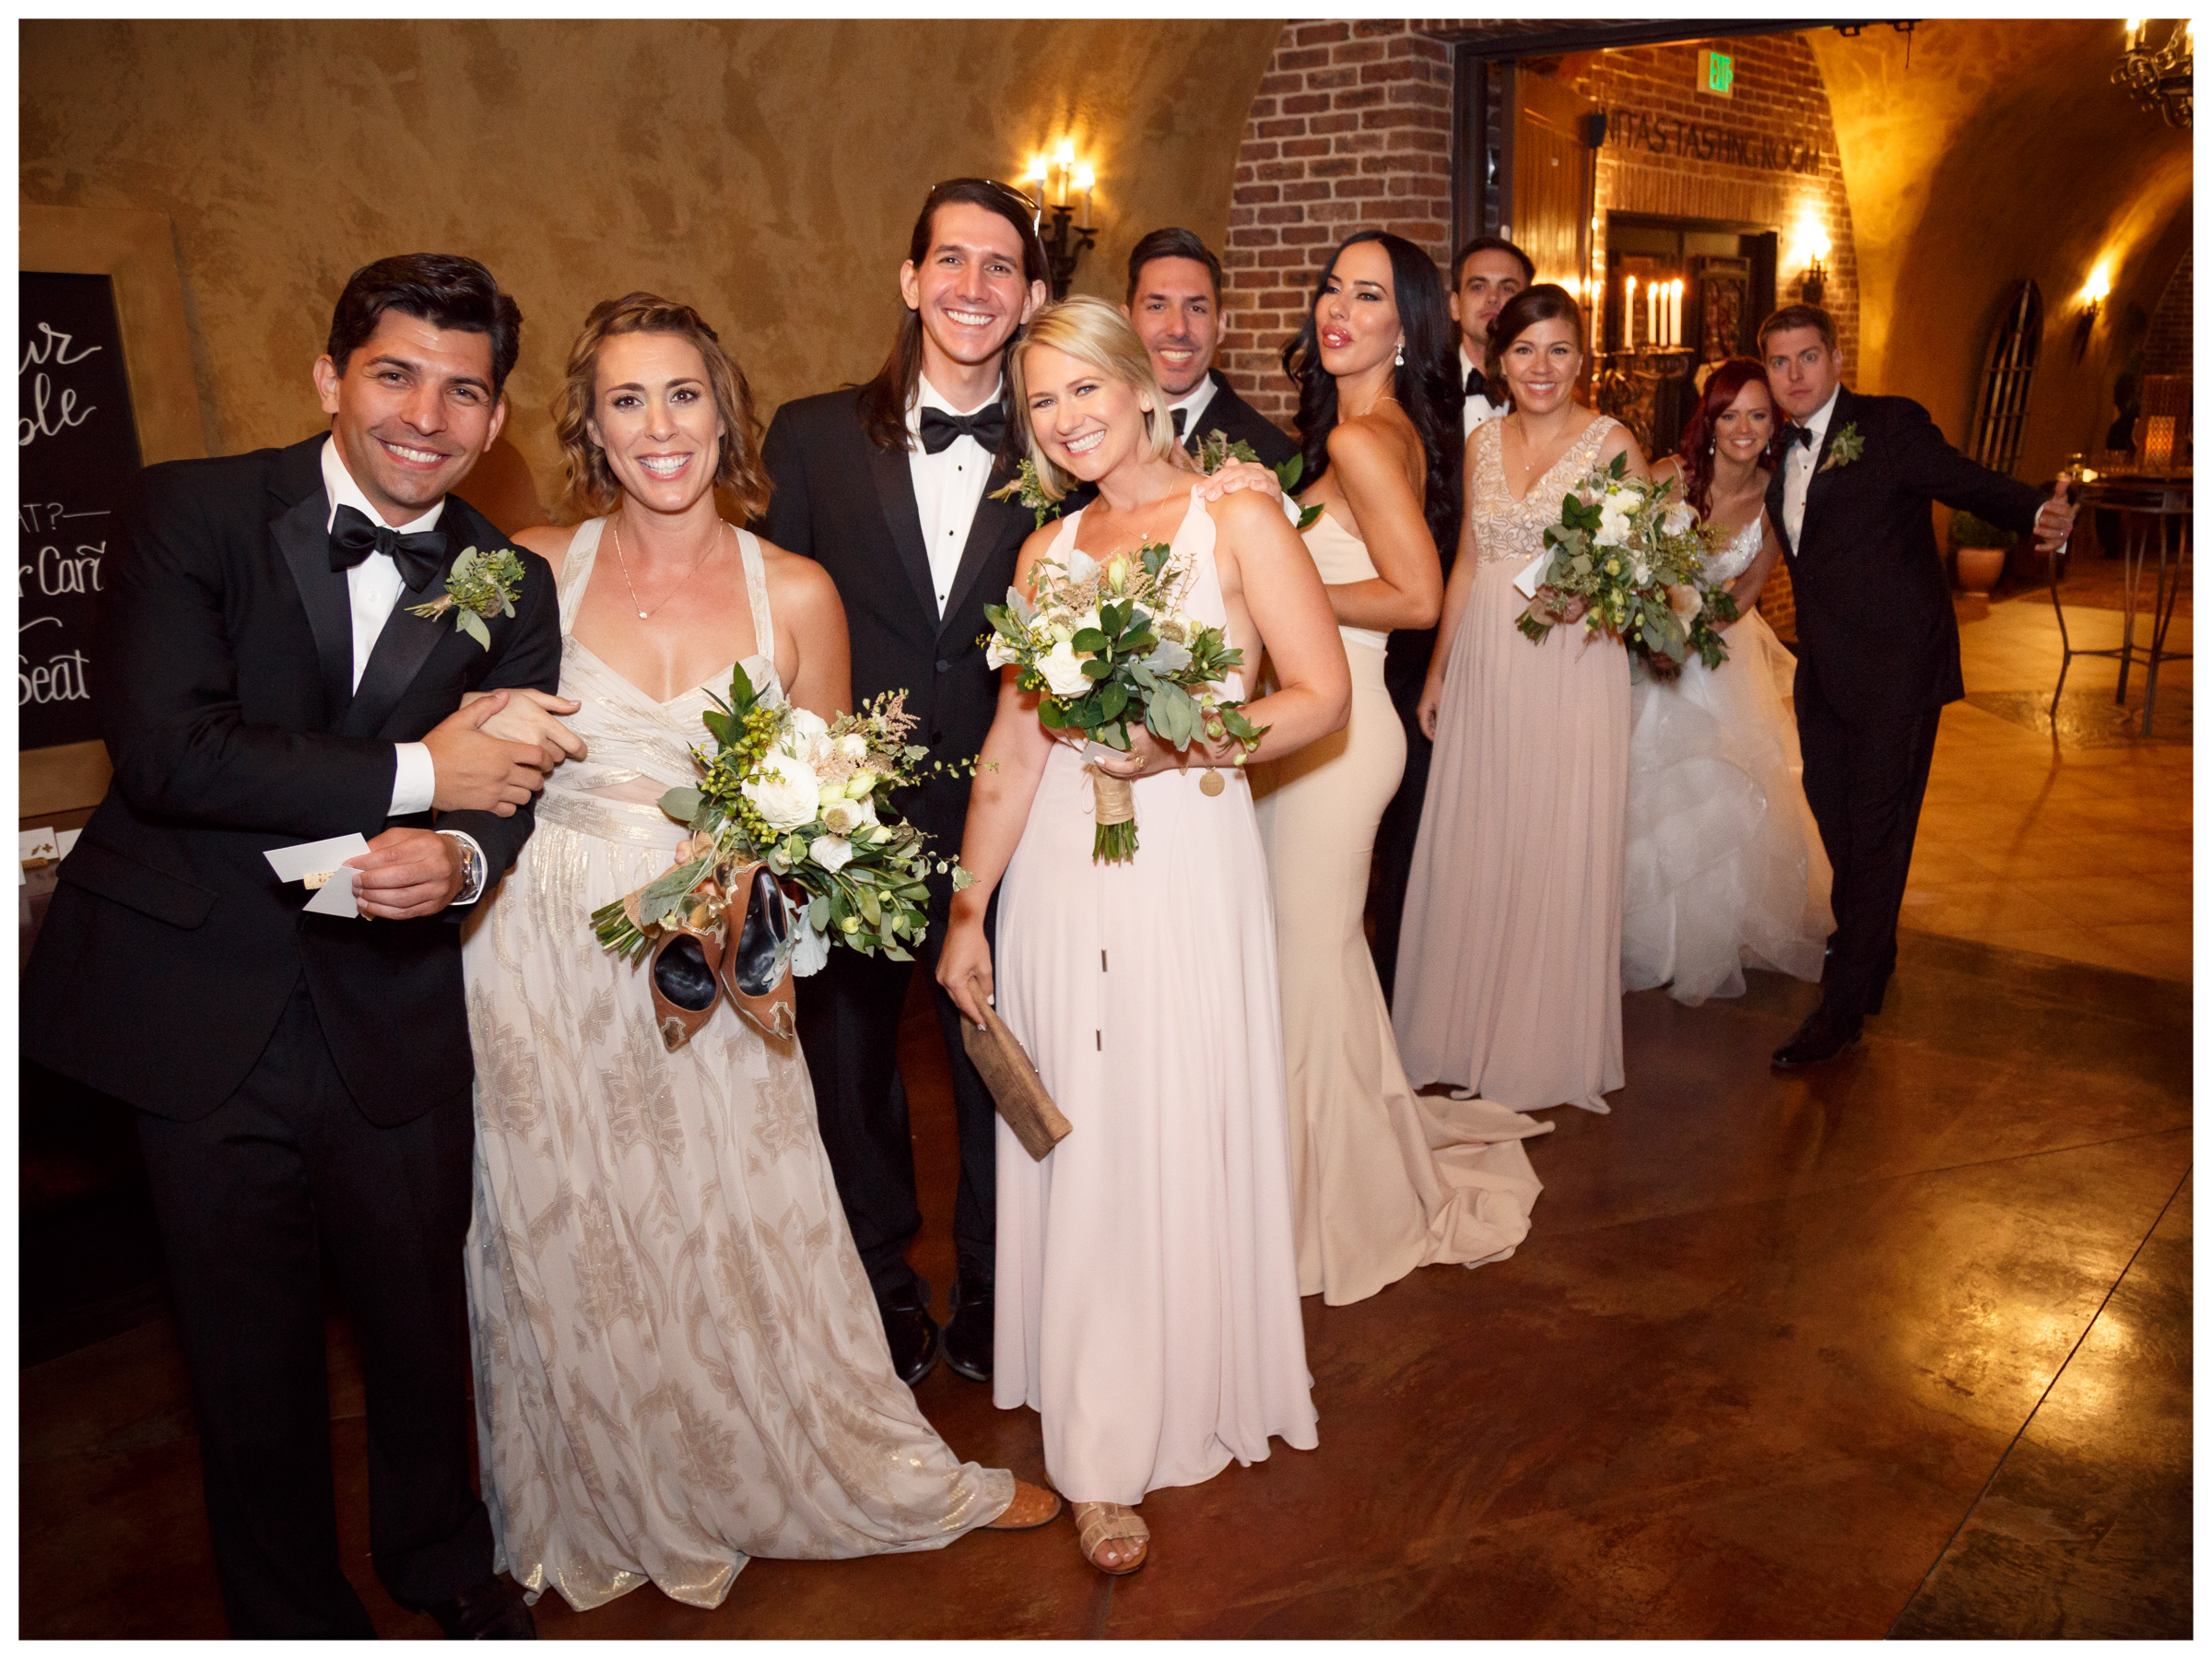
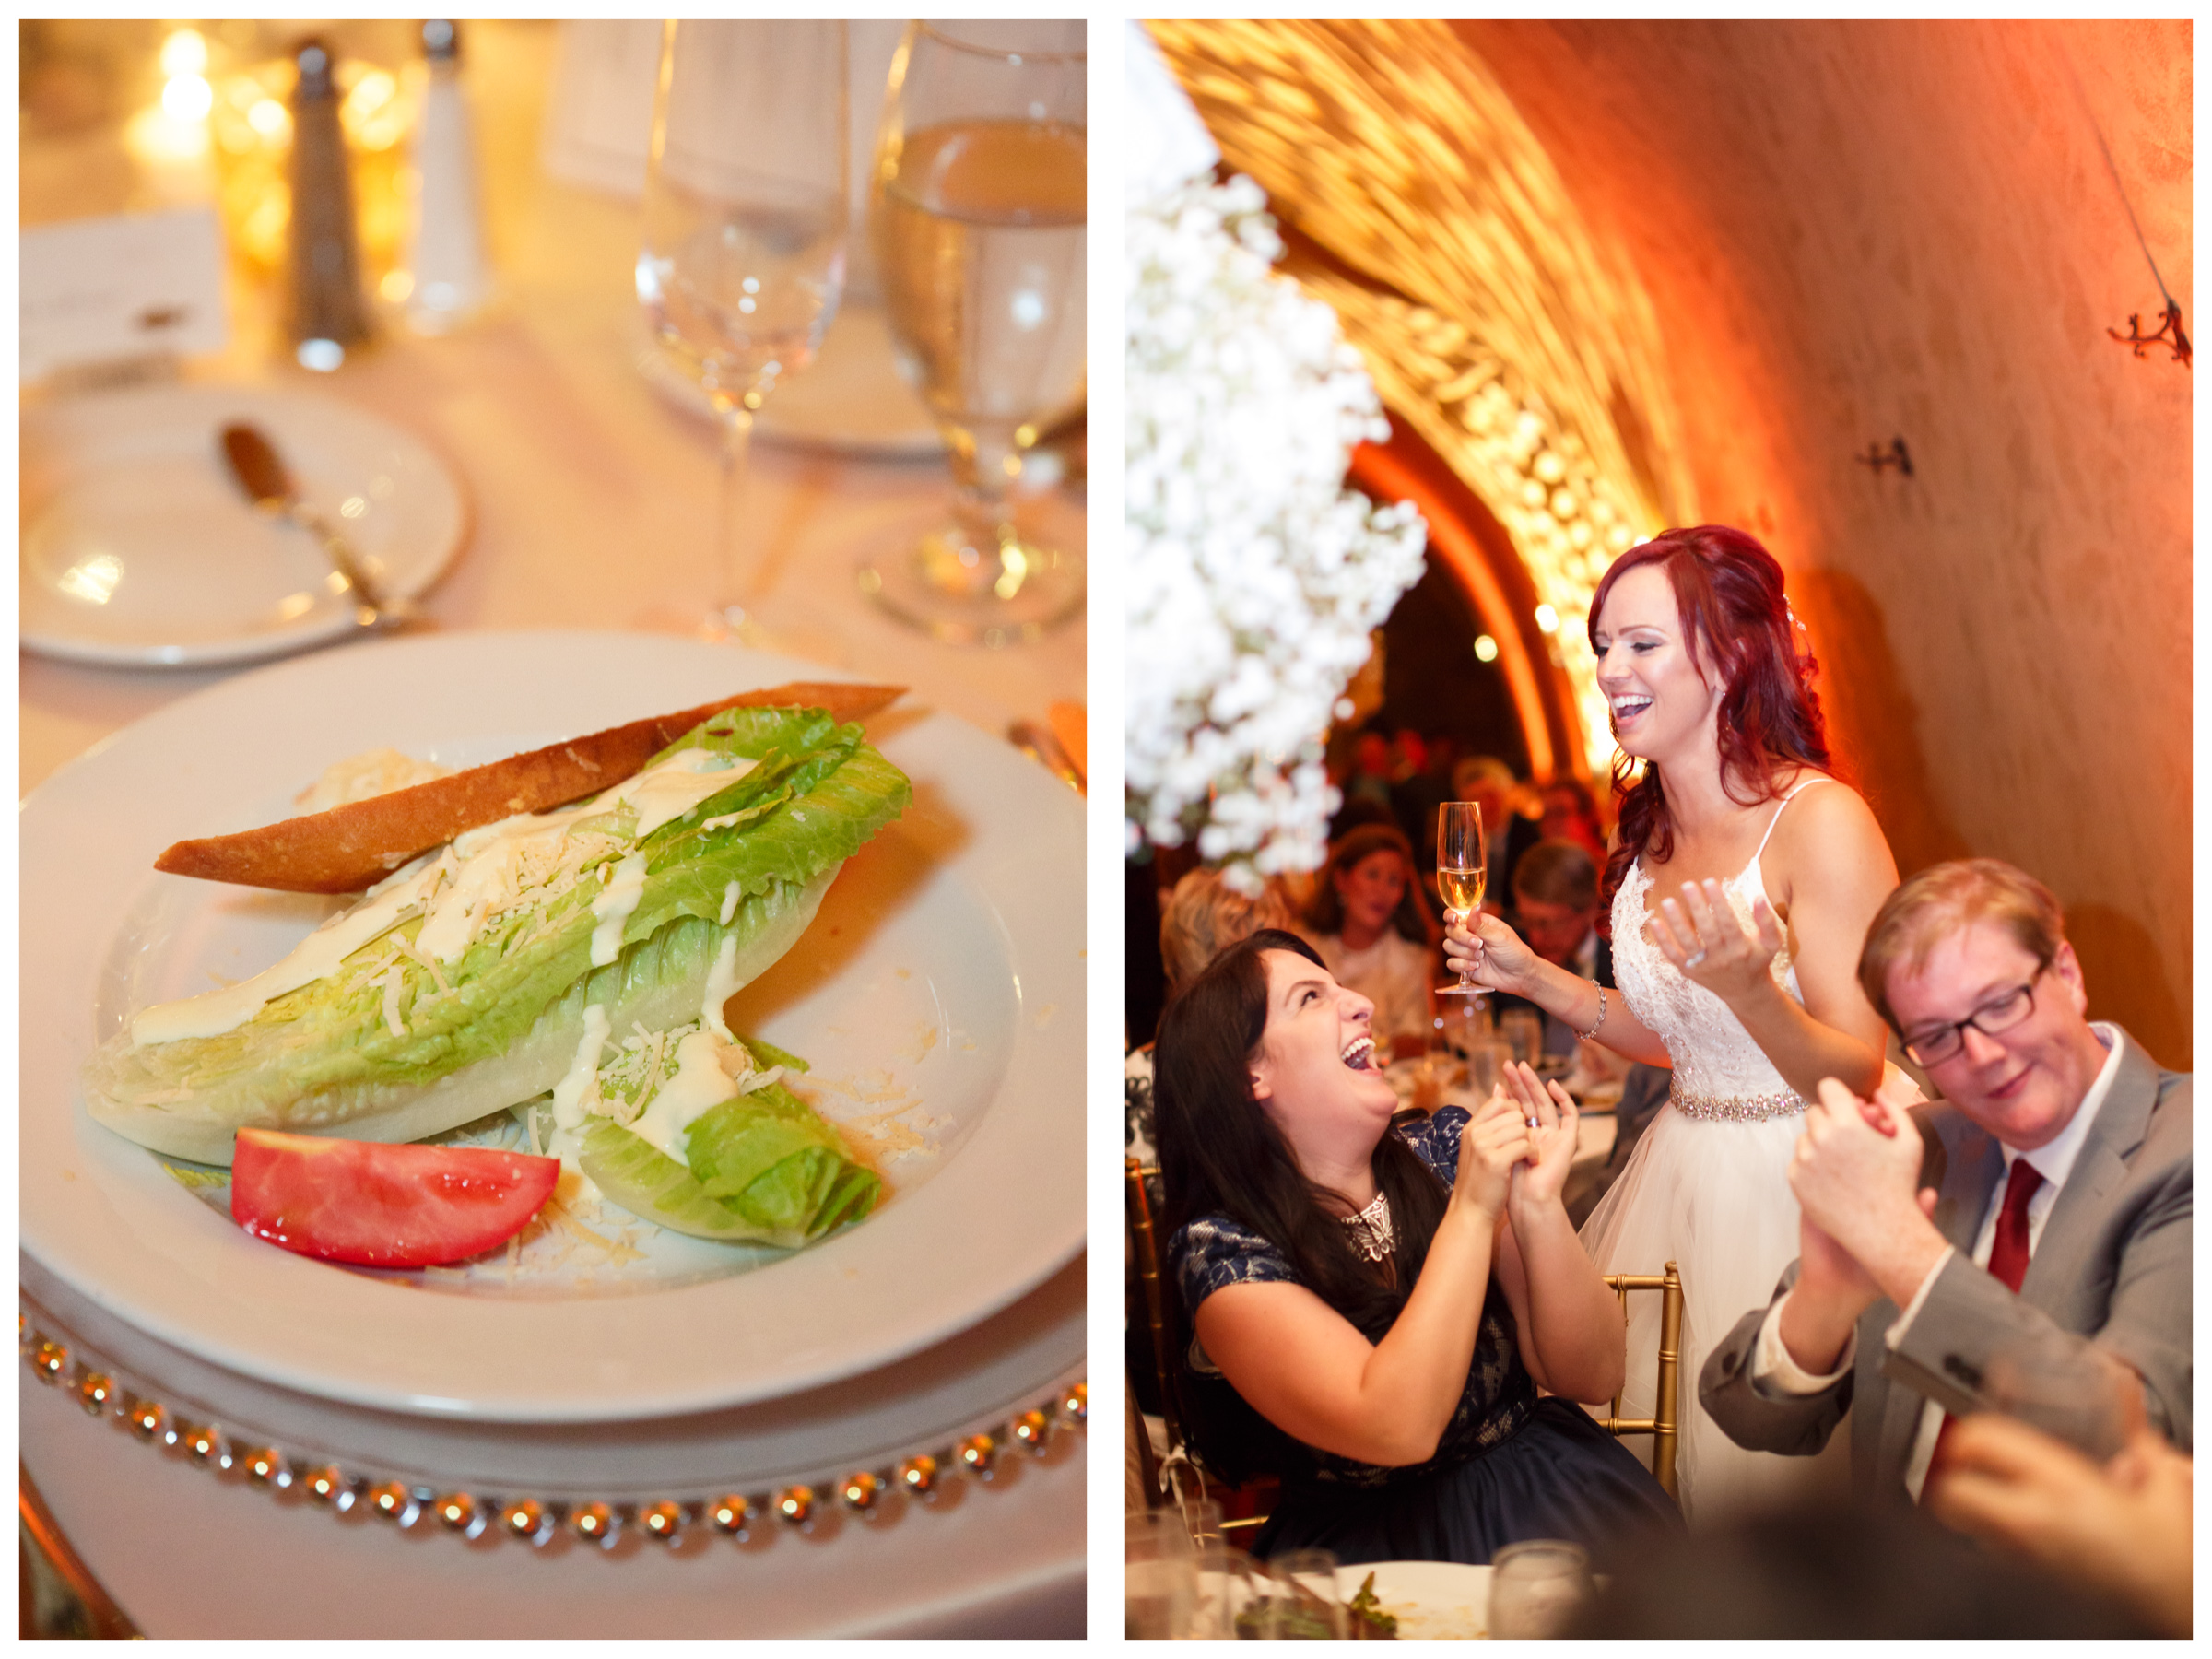
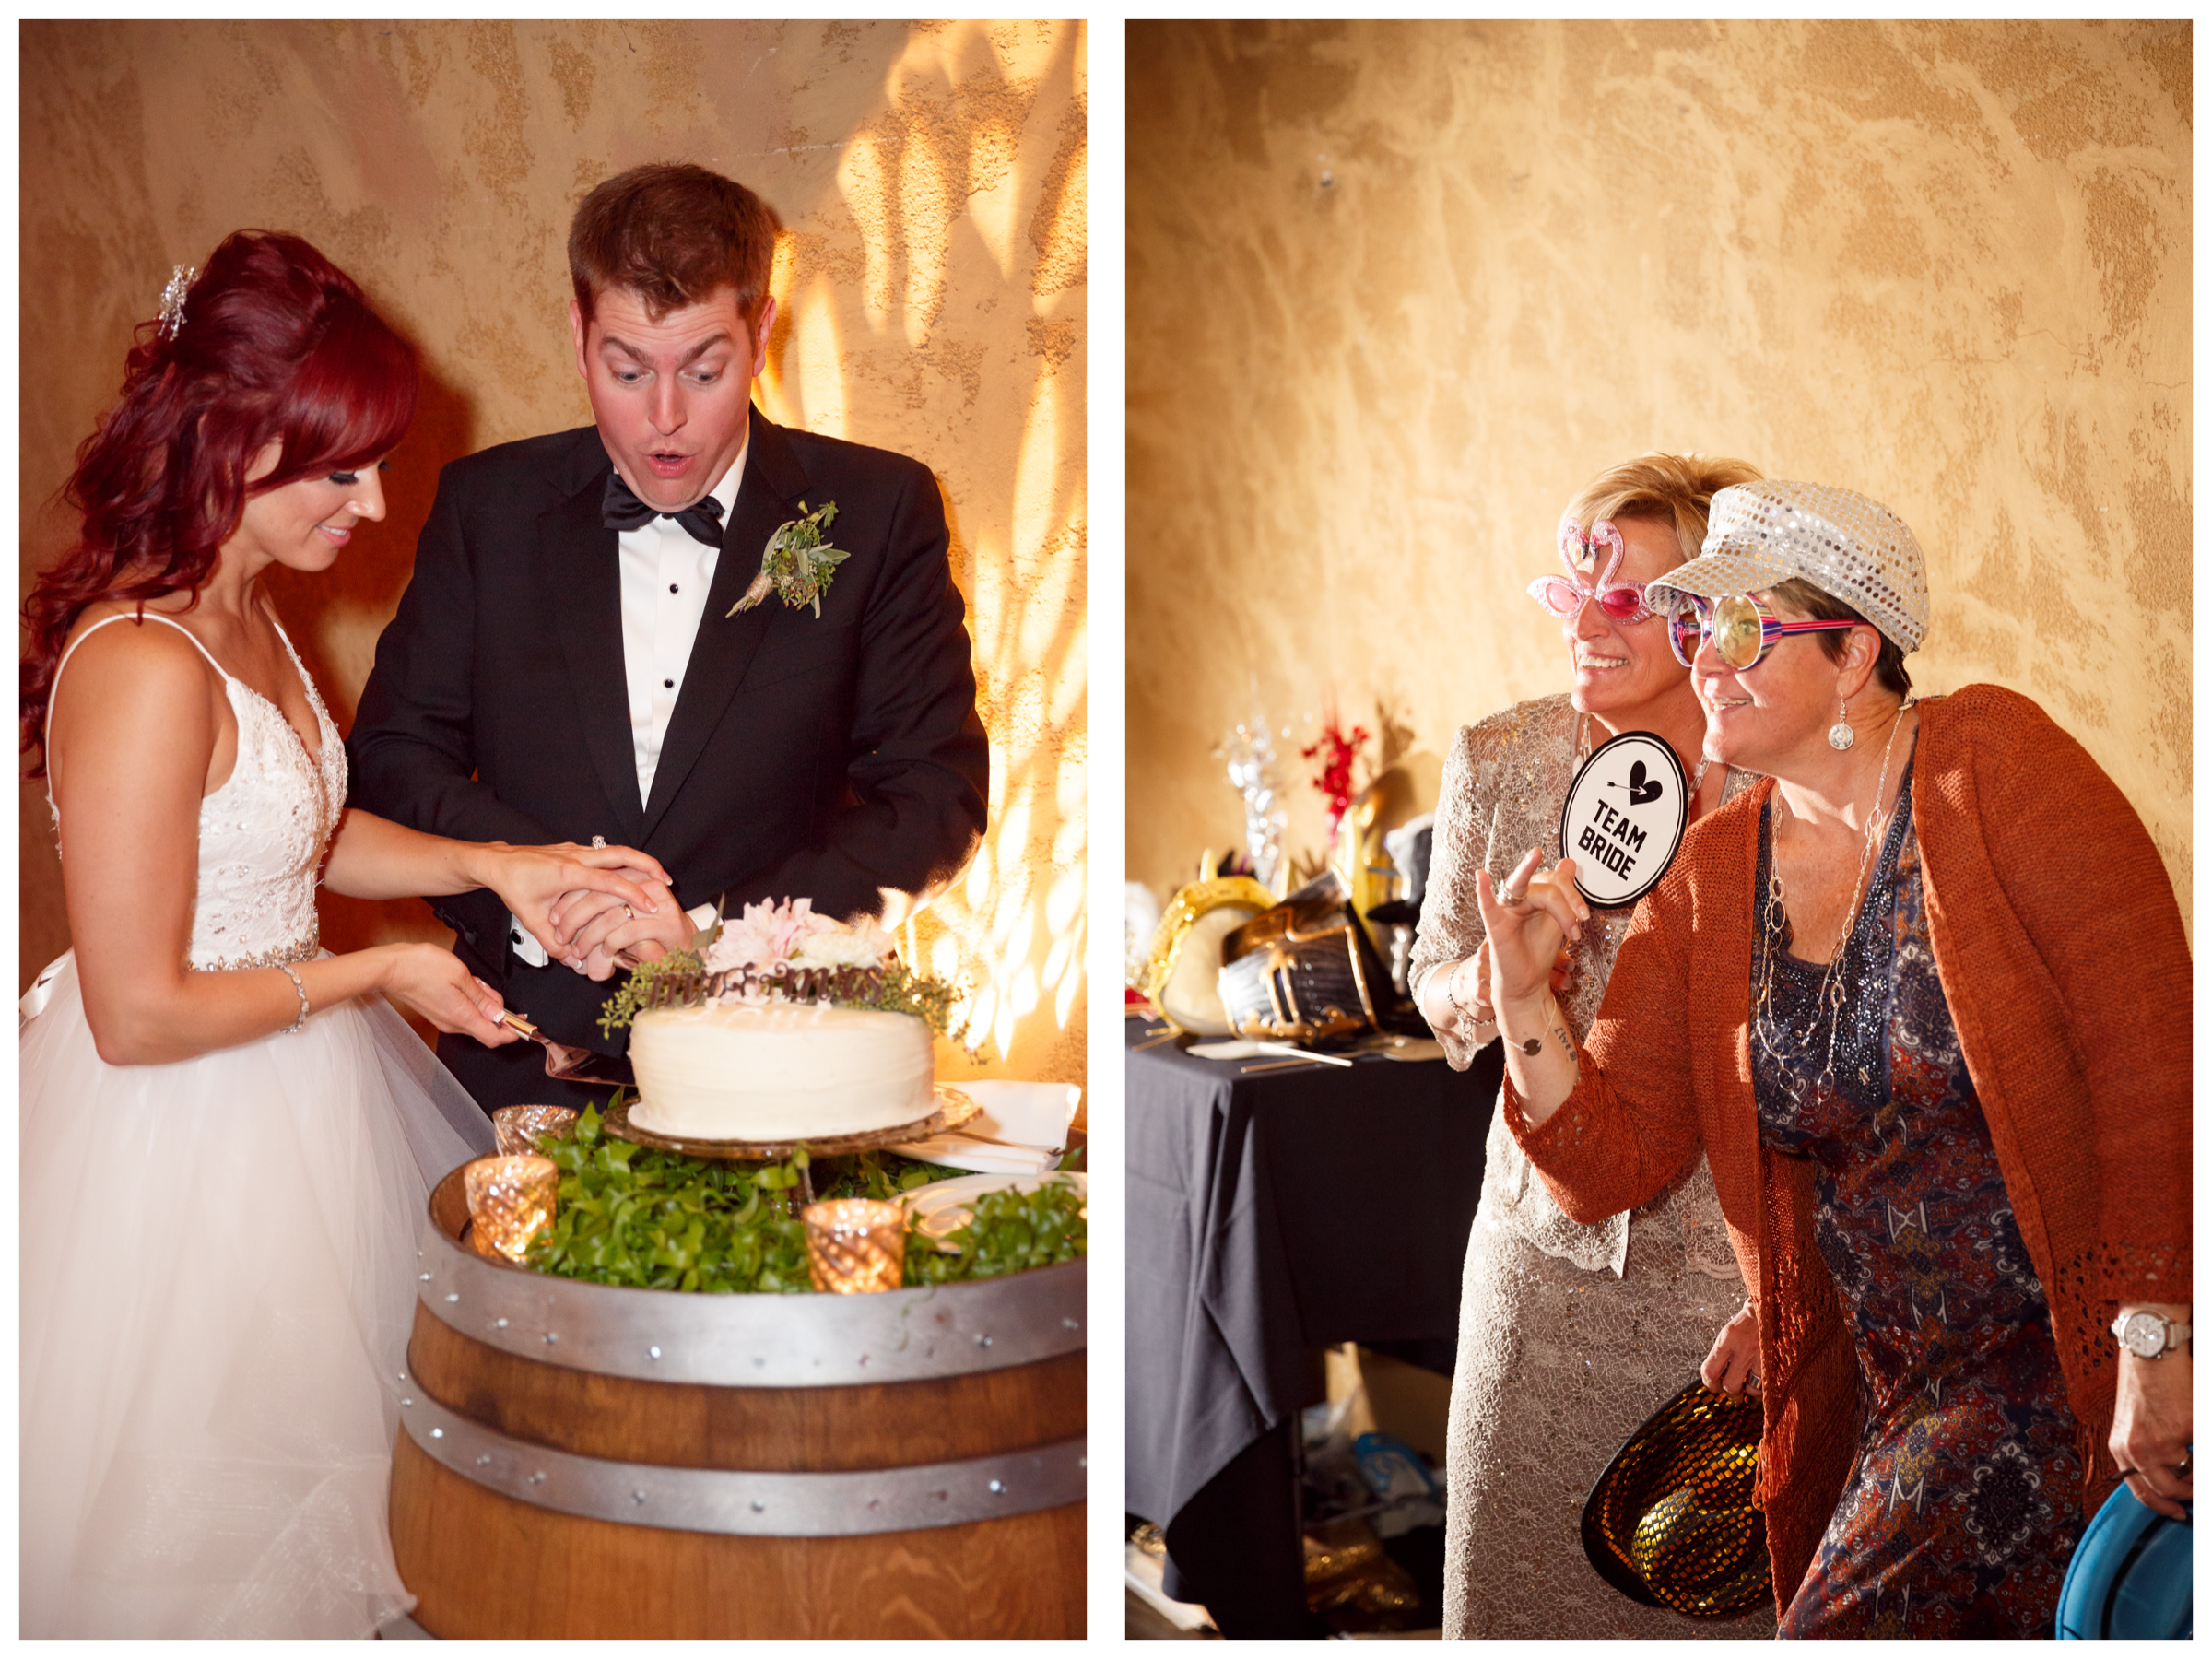
Yesterday’s post was dedicated to the lovely and dreamy daytime portion of Andrea & John’s Meritage Resort wedding, from getting ready to just after they finished their romantic post-ceremony portrait session in the vineyards. I decided to stop there, right before their wedding entered the dramatic Estate Wine Cave for dinner and dancing, and create a second post dedicated to part 2 – the reception. Everything designed by Napa wedding planner Jennifer Stone (La Grande Fete) was just so beautiful, and I wanted to show lots of photos of it. But I also thought this would be a perfect set of images to use as a backdrop for a basic discussion for other wedding photographers on how I handle the often-struggled-with portion of a wedding day – the dark portions, that is! So, here we go…
Meritage Resort Napa | La Grande Fete – Jennifer Stone | Final Touches Hair | Melissa Oliviera Artistry | Miss D Designs | No1Betta Entertainment | Olive & Tree Wedding Films | FotoBike
My 2nd photographer was Jenna Coughlan, and my assistant was Alicia Heimer (beautiful work, ladies!)
Flash – the Natural-Born Enemy of Natural Light Photographers?
In my mind, wedding photography is all about two equally important skills:
1) the ability to help a couple enjoy, and certainly not dread, the photography portion of their wedding day; and
2) the ability to be faced with basically any kind of lighting situation that exists and still be capable of creating pretty photos anyway.
Natural light is our thing as modern-day wedding photographers, but then the 2nd-half of the wedding comes along, natural light is gone, and we’re like ‘well, this part is just not my strongest part’. Sound familiar? We have to take out our flash(es) – that piece of equipment that is the natural-born enemy of natural light – and make the best of it.
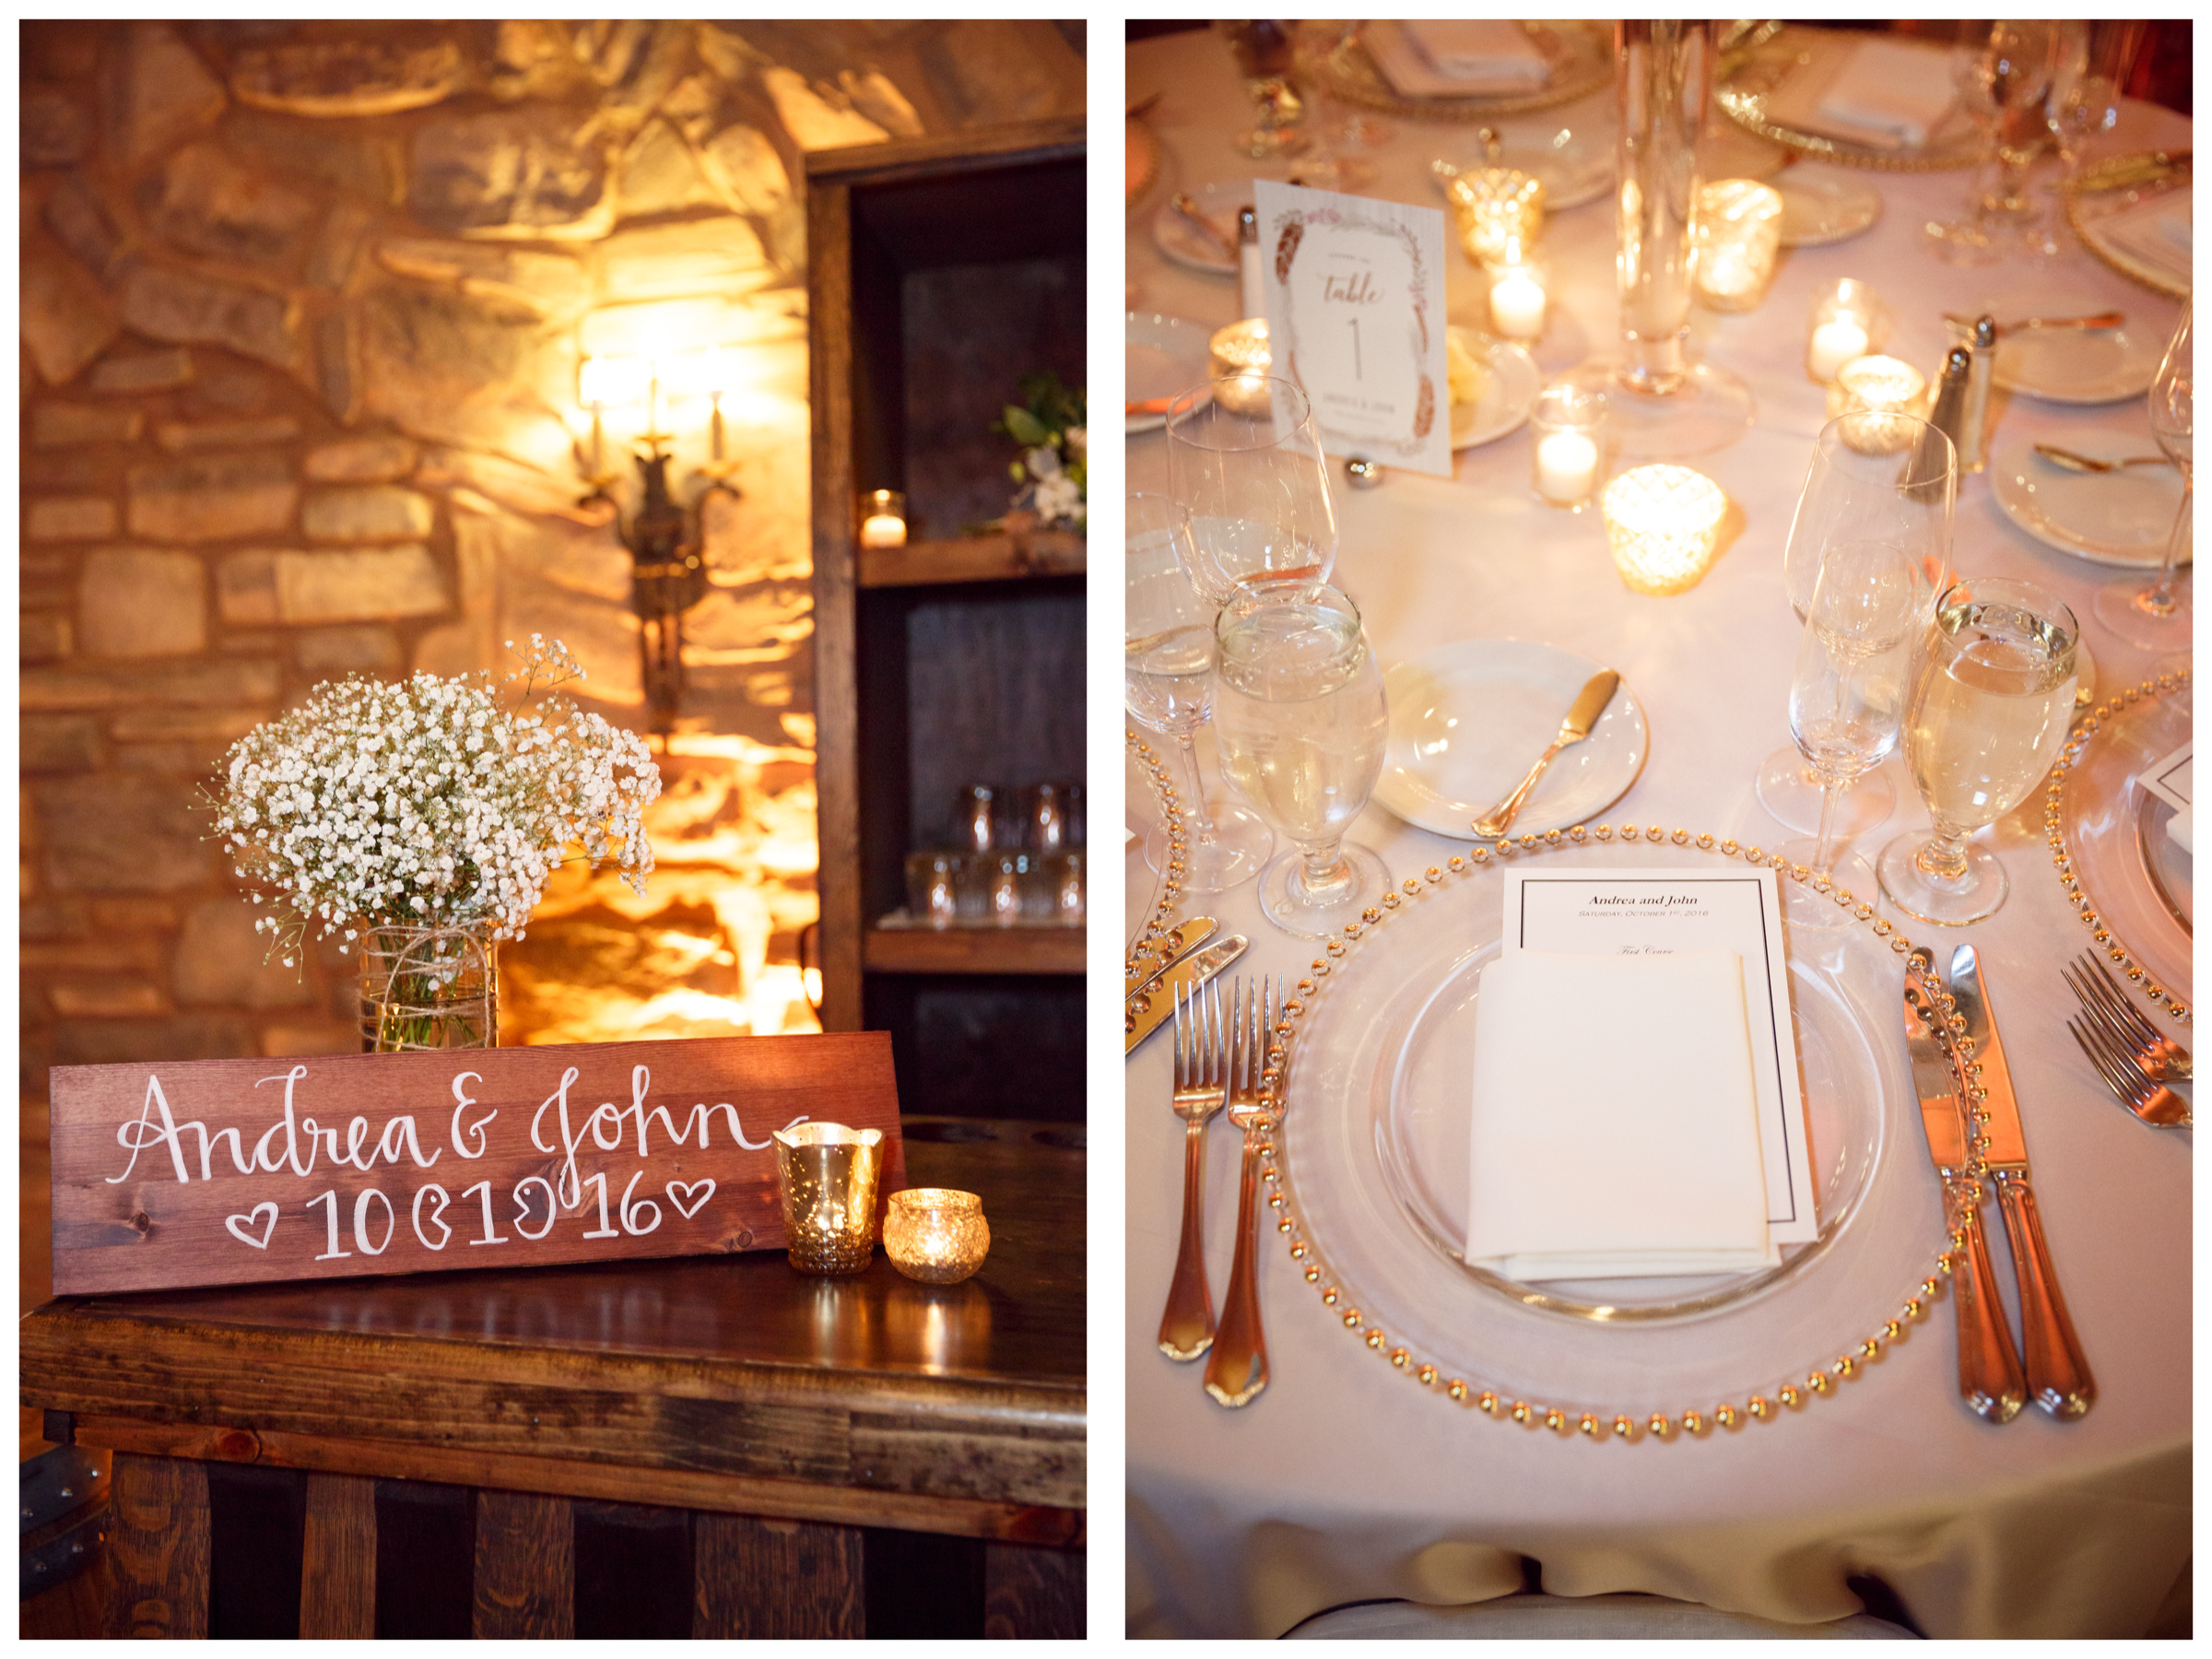
But the sad thing about that approach is that wedding reception spaces are often SO INCREDIBLY PRETTY! We’re talking fine linens, twinkling lights, stunning florals, unique signage, cute escort cards, and so much more – pretty much everything that a wedding has to show for itself in the eyes of the guests (aside from the relatively short ceremony). And certainly what the efforts of the wedding designer, the florist, the caterer, the DJ, and everyone else is centered around. So, in my opinion, we natural light photographers don’t really have the option of taking the ‘this part isn’t my strong part’ stance. We owe it to our clients and our fellow vendors to figure it out, be creative, and master the minimal equipment needed to produce photos that tell the story of this part of the day, too.
But Wait – There’s Still Plenty of Natural Light to Work With
So as I learned wedding photography, I experimented with ideas that would help with that dreaded dark-part of almost every wedding day. And it turns out the answer to the challenge was glaring me in the face the whole time, and is right there, all around us, even at night: AMBIENT LIGHT. We humans see it when we walk into a darkened space – the ambiance of low, romantic light from candles and dimmed lamps. We don’t walk in and say whoa! It got so dark, flat and those candles are so dim! We walk in and see warmth and brightness, twinkling and color. Because when we walk into a darker space, our eyes adapt to the available light immediately, and our brains do too. So the trick is to get our camera to do the same thing – adapt so that it can actually SEE the ambient (aka natural) light all around.
So, if I have a formula, this is it. Four basic ingredients that come together to help me create images that I’m comfortable delivering to my couples because I know they’ll see what they remember of their night when they see them.
STEP ONE:
The first step is ISO, and it is our best friend. Modern pro-digital SLRs are amazing at handling low-light conditions because they produce incredibly LOW NOISE even at higher ISO’s. My two – 5D MkIII’s have a crazy high ISO range, and at least until about 5000 the digital noise in the image produced by that high ISO is very minimal. My rule for wedding reception photography is: Dial up that ISO, usually to at least 2500, but no higher than 5000.
Why? ISO is the sensitivity setting for your camera, and mirrors original film grain qualities. Original films were classified as ‘fast’ or ‘slow’ (or in between), a quality that defines it’s ability to soak up light. Fast films (high ISO) can soak up light faster, and thus be used in darker settings, but produce a grainier image. Slow films (low ISO) are fine, sharp, and clean, but need lots of ambient light to work with. Digital ISO is the same. So, if we’re trying to capture natural/ambient light, we can help our camera by making it a bit more sensitive to light by simply using a higher ISO.
STEP TWO:
Second is the lens – and the aperture and shutter speed settings chosen on the camera for that lens. I use exactly the same lenses at night that I do during the day, to be honest. I use a Canon 24-70 f/2.8 L, a Canon 70-200 f/2.8 L, and a Canon 85 f/1.8, both day and night. Many of my colleagues love their 50 f/1.2 L and 35 f/1.2 L lenses too. Basically, the most important thing about the lens for reception photography is it’s aperture. You want any FAST lens (that term again!). In other words, you want a lens that has a huge aperture and can stay that way even when zoomed (for zoom varieties). A huge aperture let’s in lots of natural light and makes your job a lot easier. And the difference is significant, even when moving from that 4.0 lens to a 2.8.
For camera settings, it’s pretty simple: Set your camera to M (manual) mode, open your aperture as wide as possible, and use a shutter speed as slow as possible while still freezing the action (about 1/100 is a good rule of thumb as minimal shutter speed).
STEP THREE:
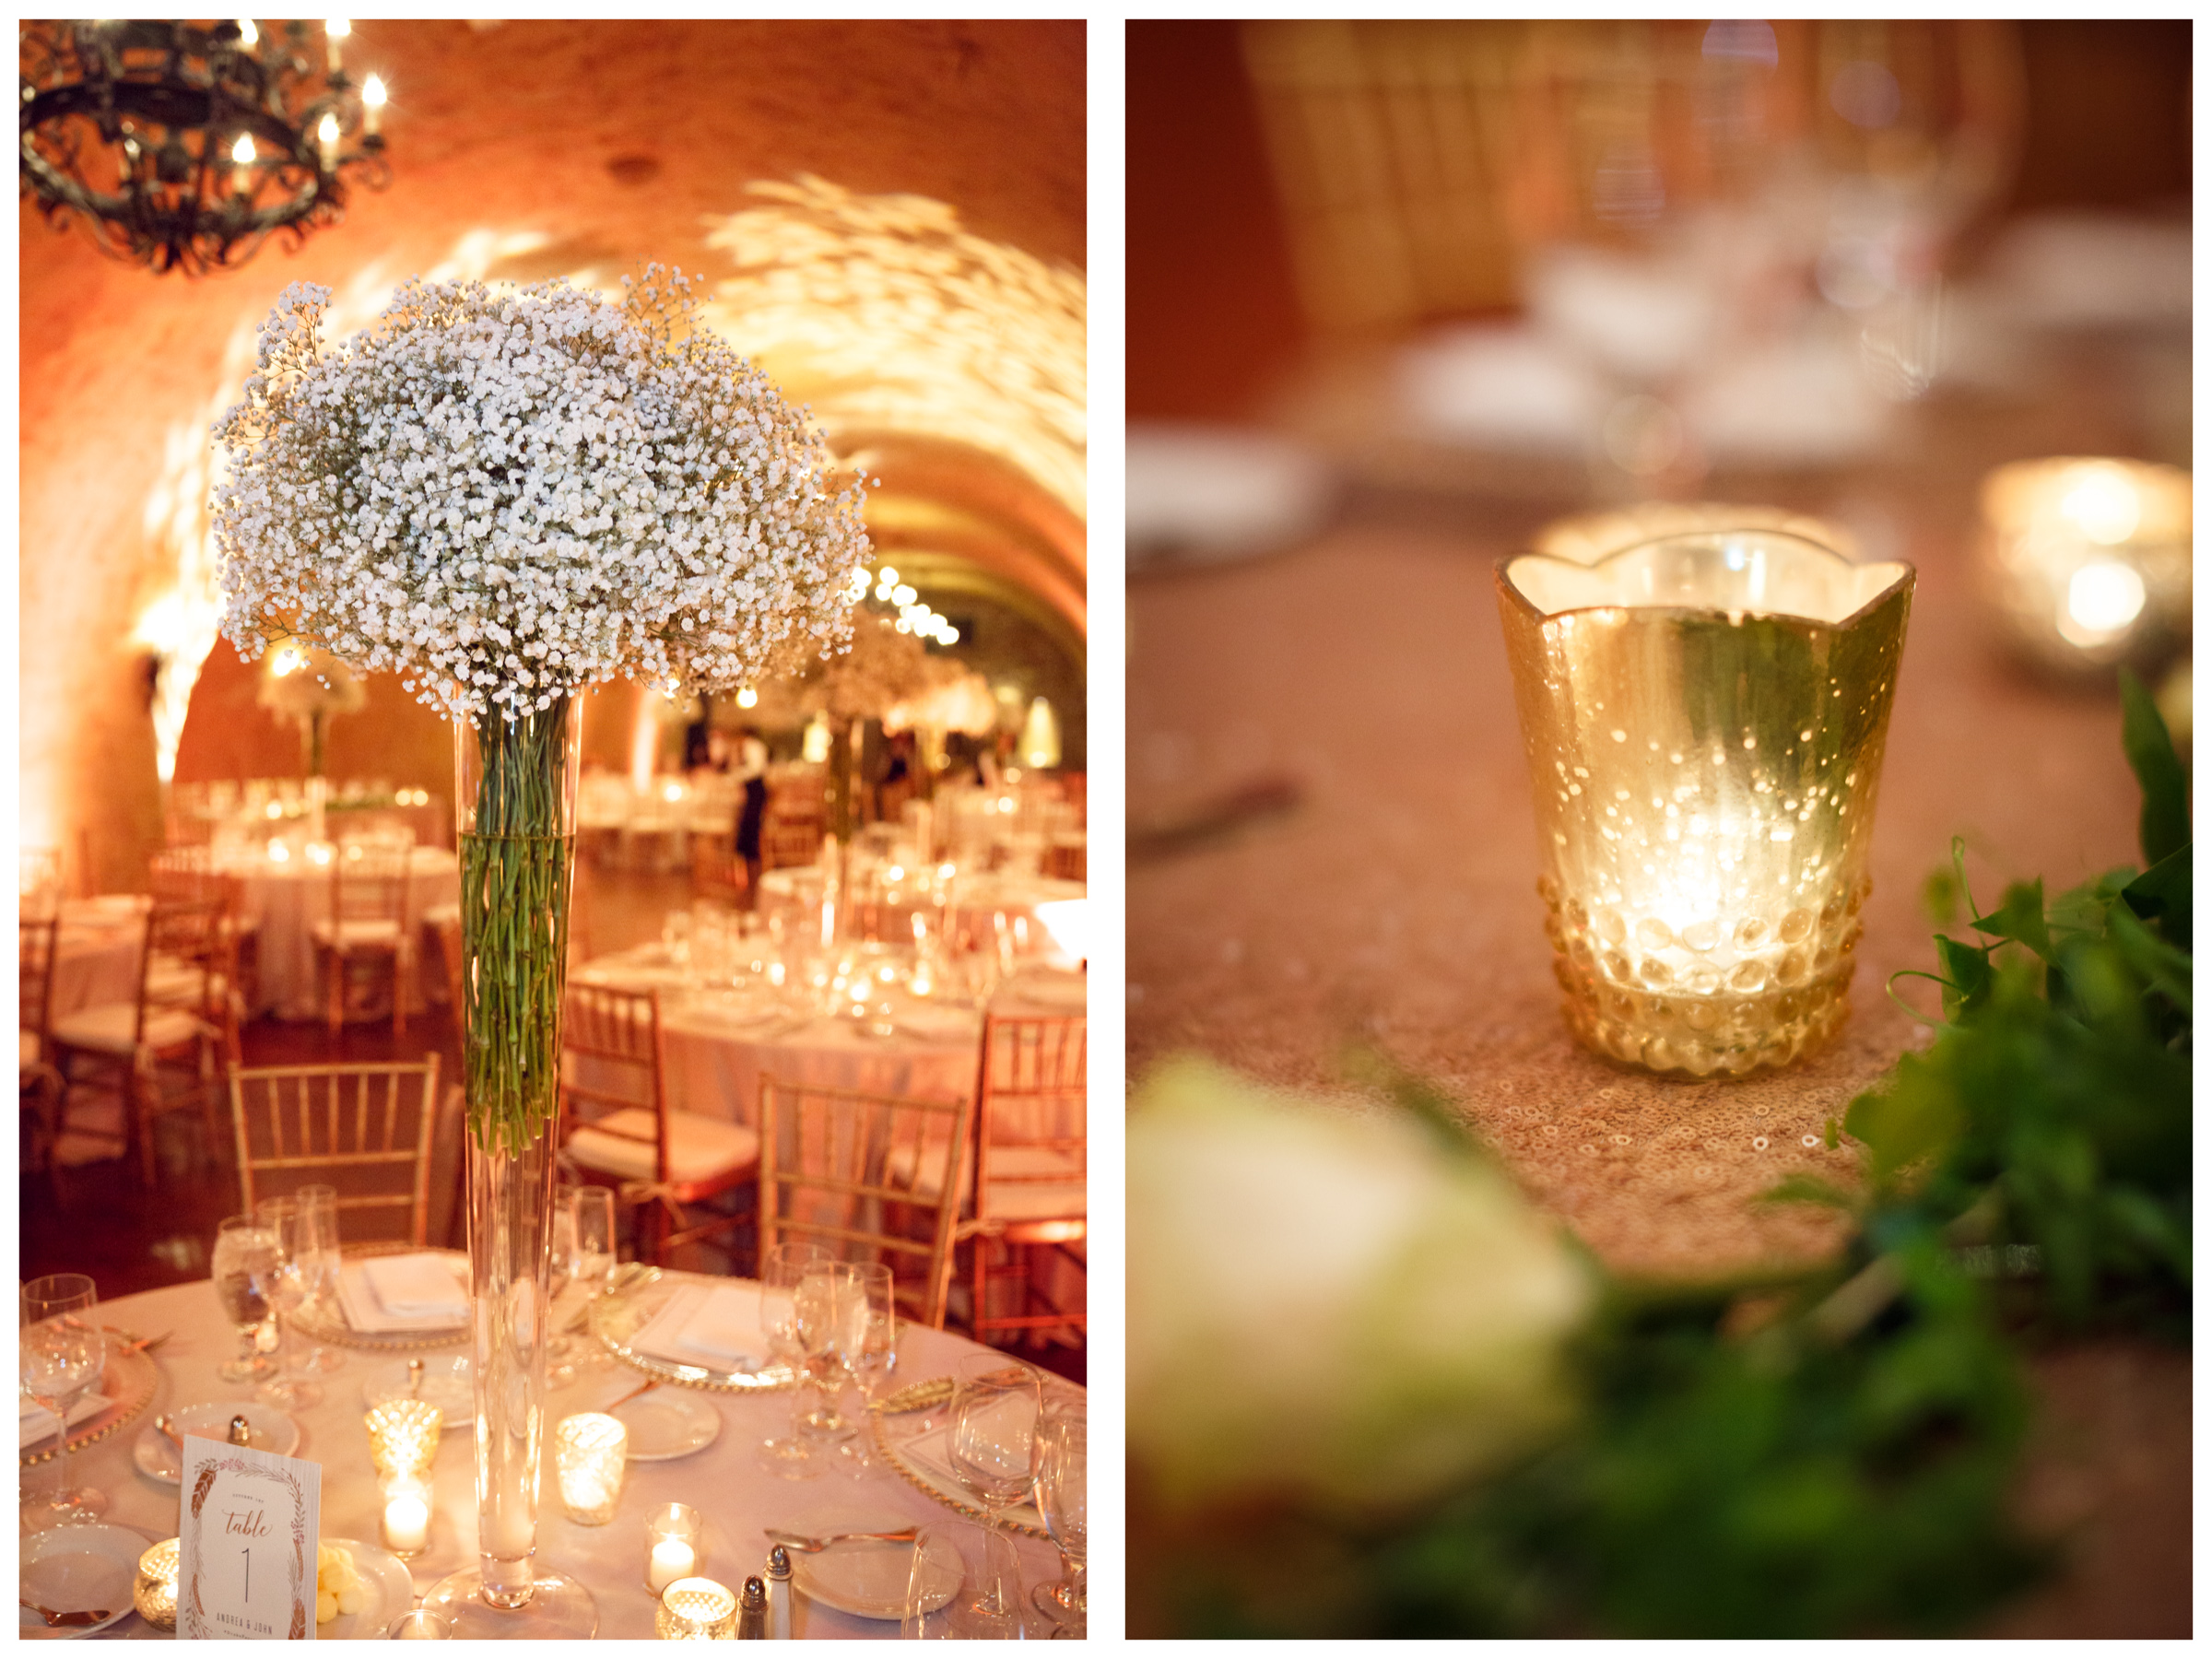
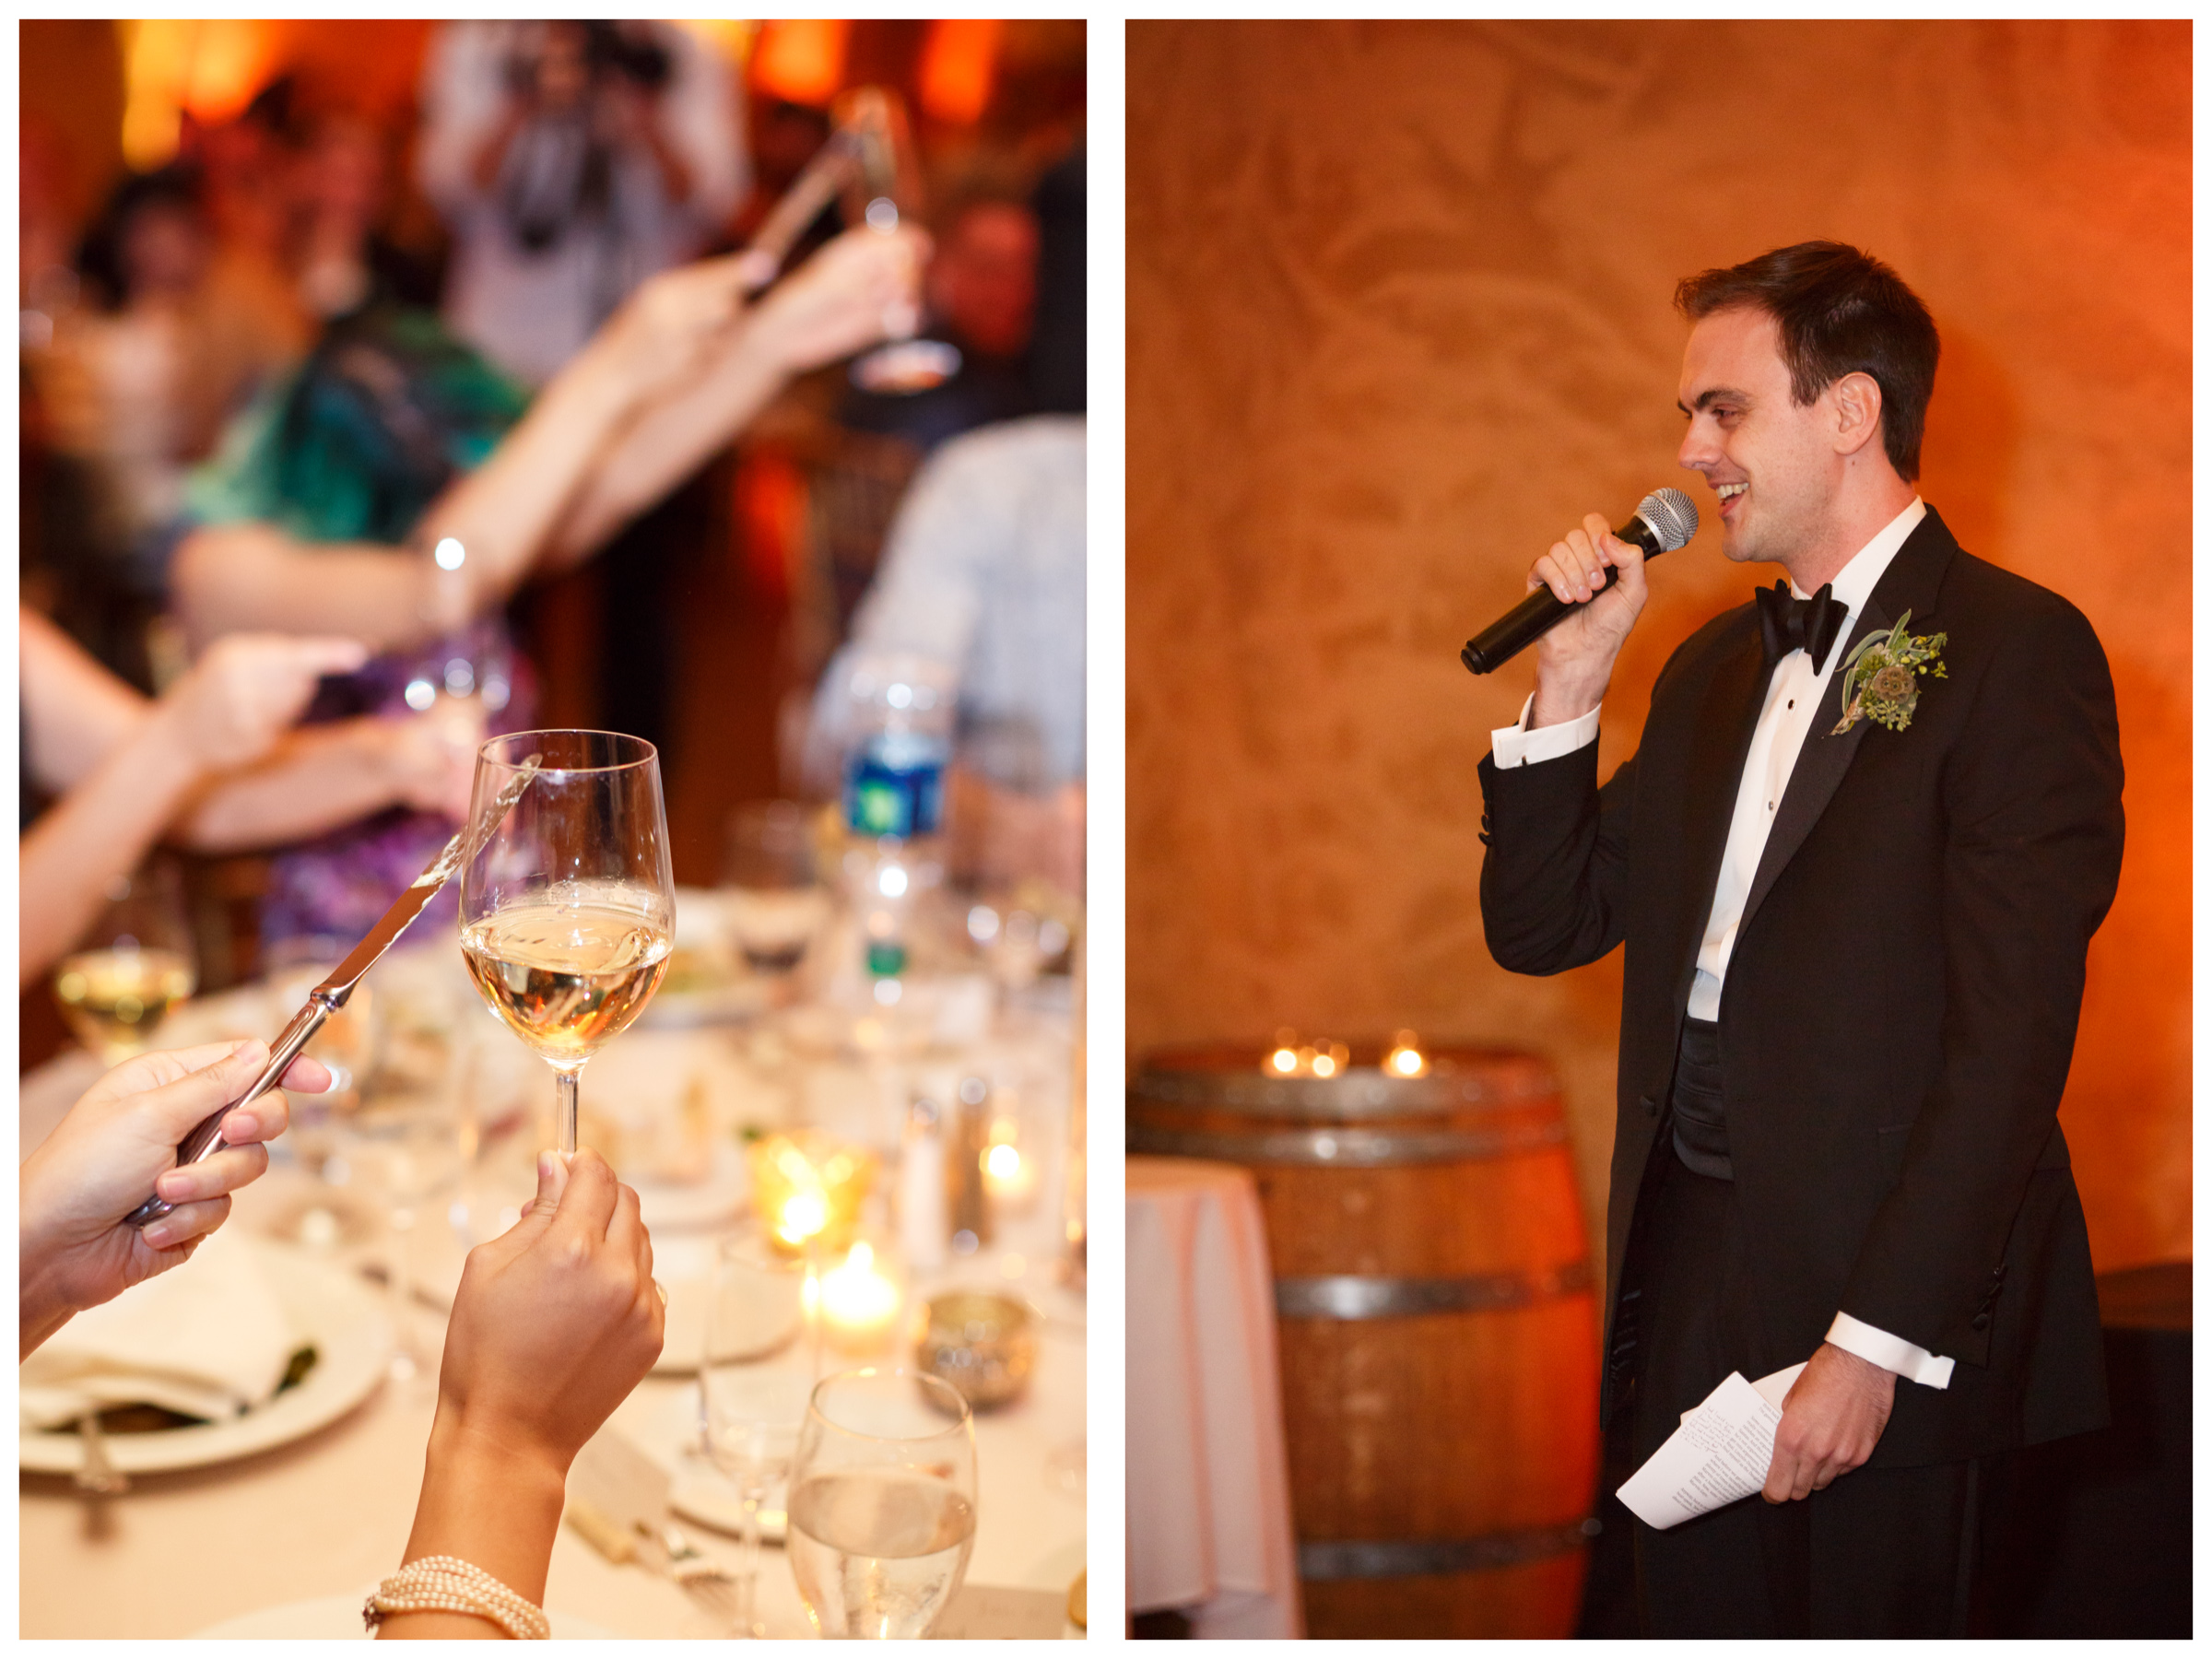
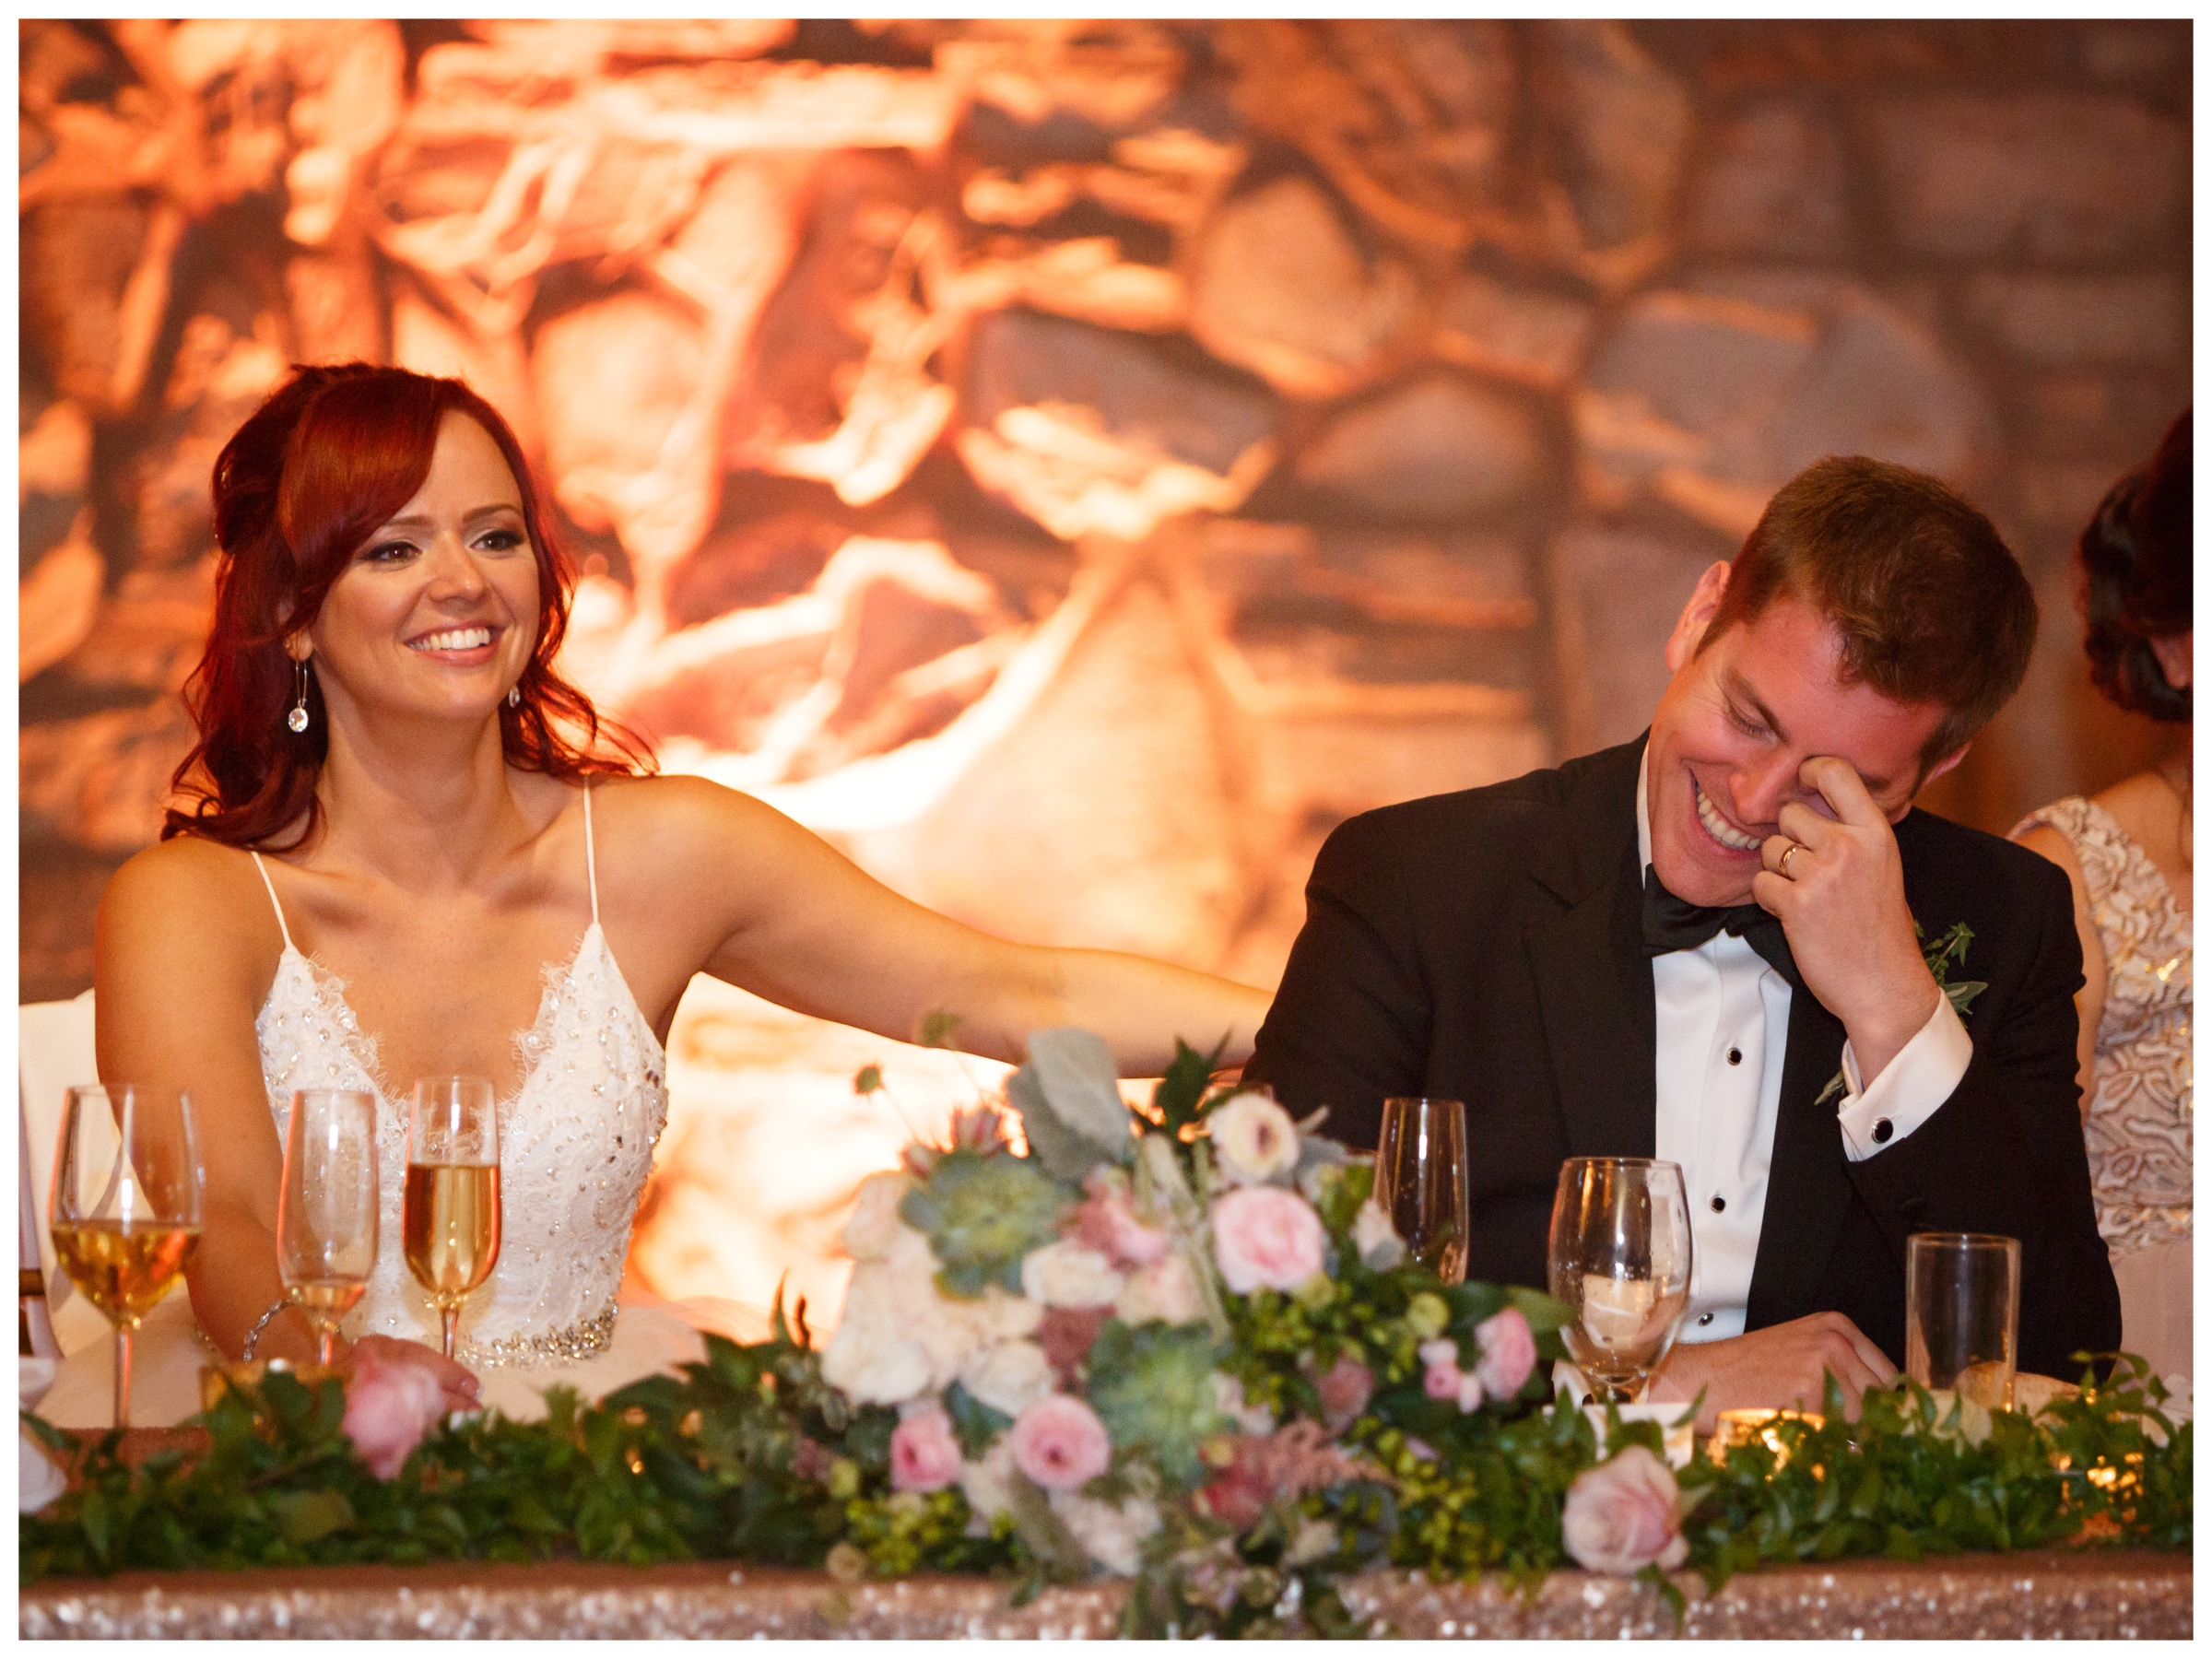
Third, get out your flash (I know, dreaded!). But why, you say, when we’re trying to soak up natural light would we want to use a flash? Well, to add more light, of course. But also because of another aspect of photography that we all know in our bones – that there still needs to be definition/a subject/something to draw the eye. So your flash is going to help you do that in a role that is more ‘accompaniment’ than ‘soloist’. It’ll add just a little here, a little there, and keep it modulated (thank you very much). But you might find that it isn’t always needed, so at those times you just click it to ‘off’. The image at left, above, used flash, and the one at right did not. The candle is it’s own light source and can bring attention to itself without the need for flash. The florals, though, not so much. So unless my goal was to have them blend into the ambient background, my flash was needed to help then stand out as the subject of the shot.
Here’s what I do with my flash: use a good quality flash in ETTL mode, some sort of diffuser, and adjust flash-compensation as needed.
But not all flash units are created equal, of course! My current choice is the Canon Speedlite 600EX-RT (with a Gary Fong Diffuser Dome attached). I’m sure there are newer, ever better models, but this has been my ‘little flash that could’ for a couple years now. I like ETTL mode for my flash because ambient light actually changes a lot from one area to the next in a reception space, and manually selecting my flash output is just kinda one more thing I’d have to do. And ETTL handles things very well, in my experience. The bride’s white dress in the shot might demand 1- or 2-stops increased compensation, or I might dial compensation down to tell the camera to rely less on flash and more on ambient light, but that’s essentially it. Pretty easy, actually. (Adding a second, off-camera flash to the setup – more on that next – only changes things slightly, but still I let ETTL do its thing.)
STEP FOUR:
Add pizzaz with off-camera flash (optional but pretty)
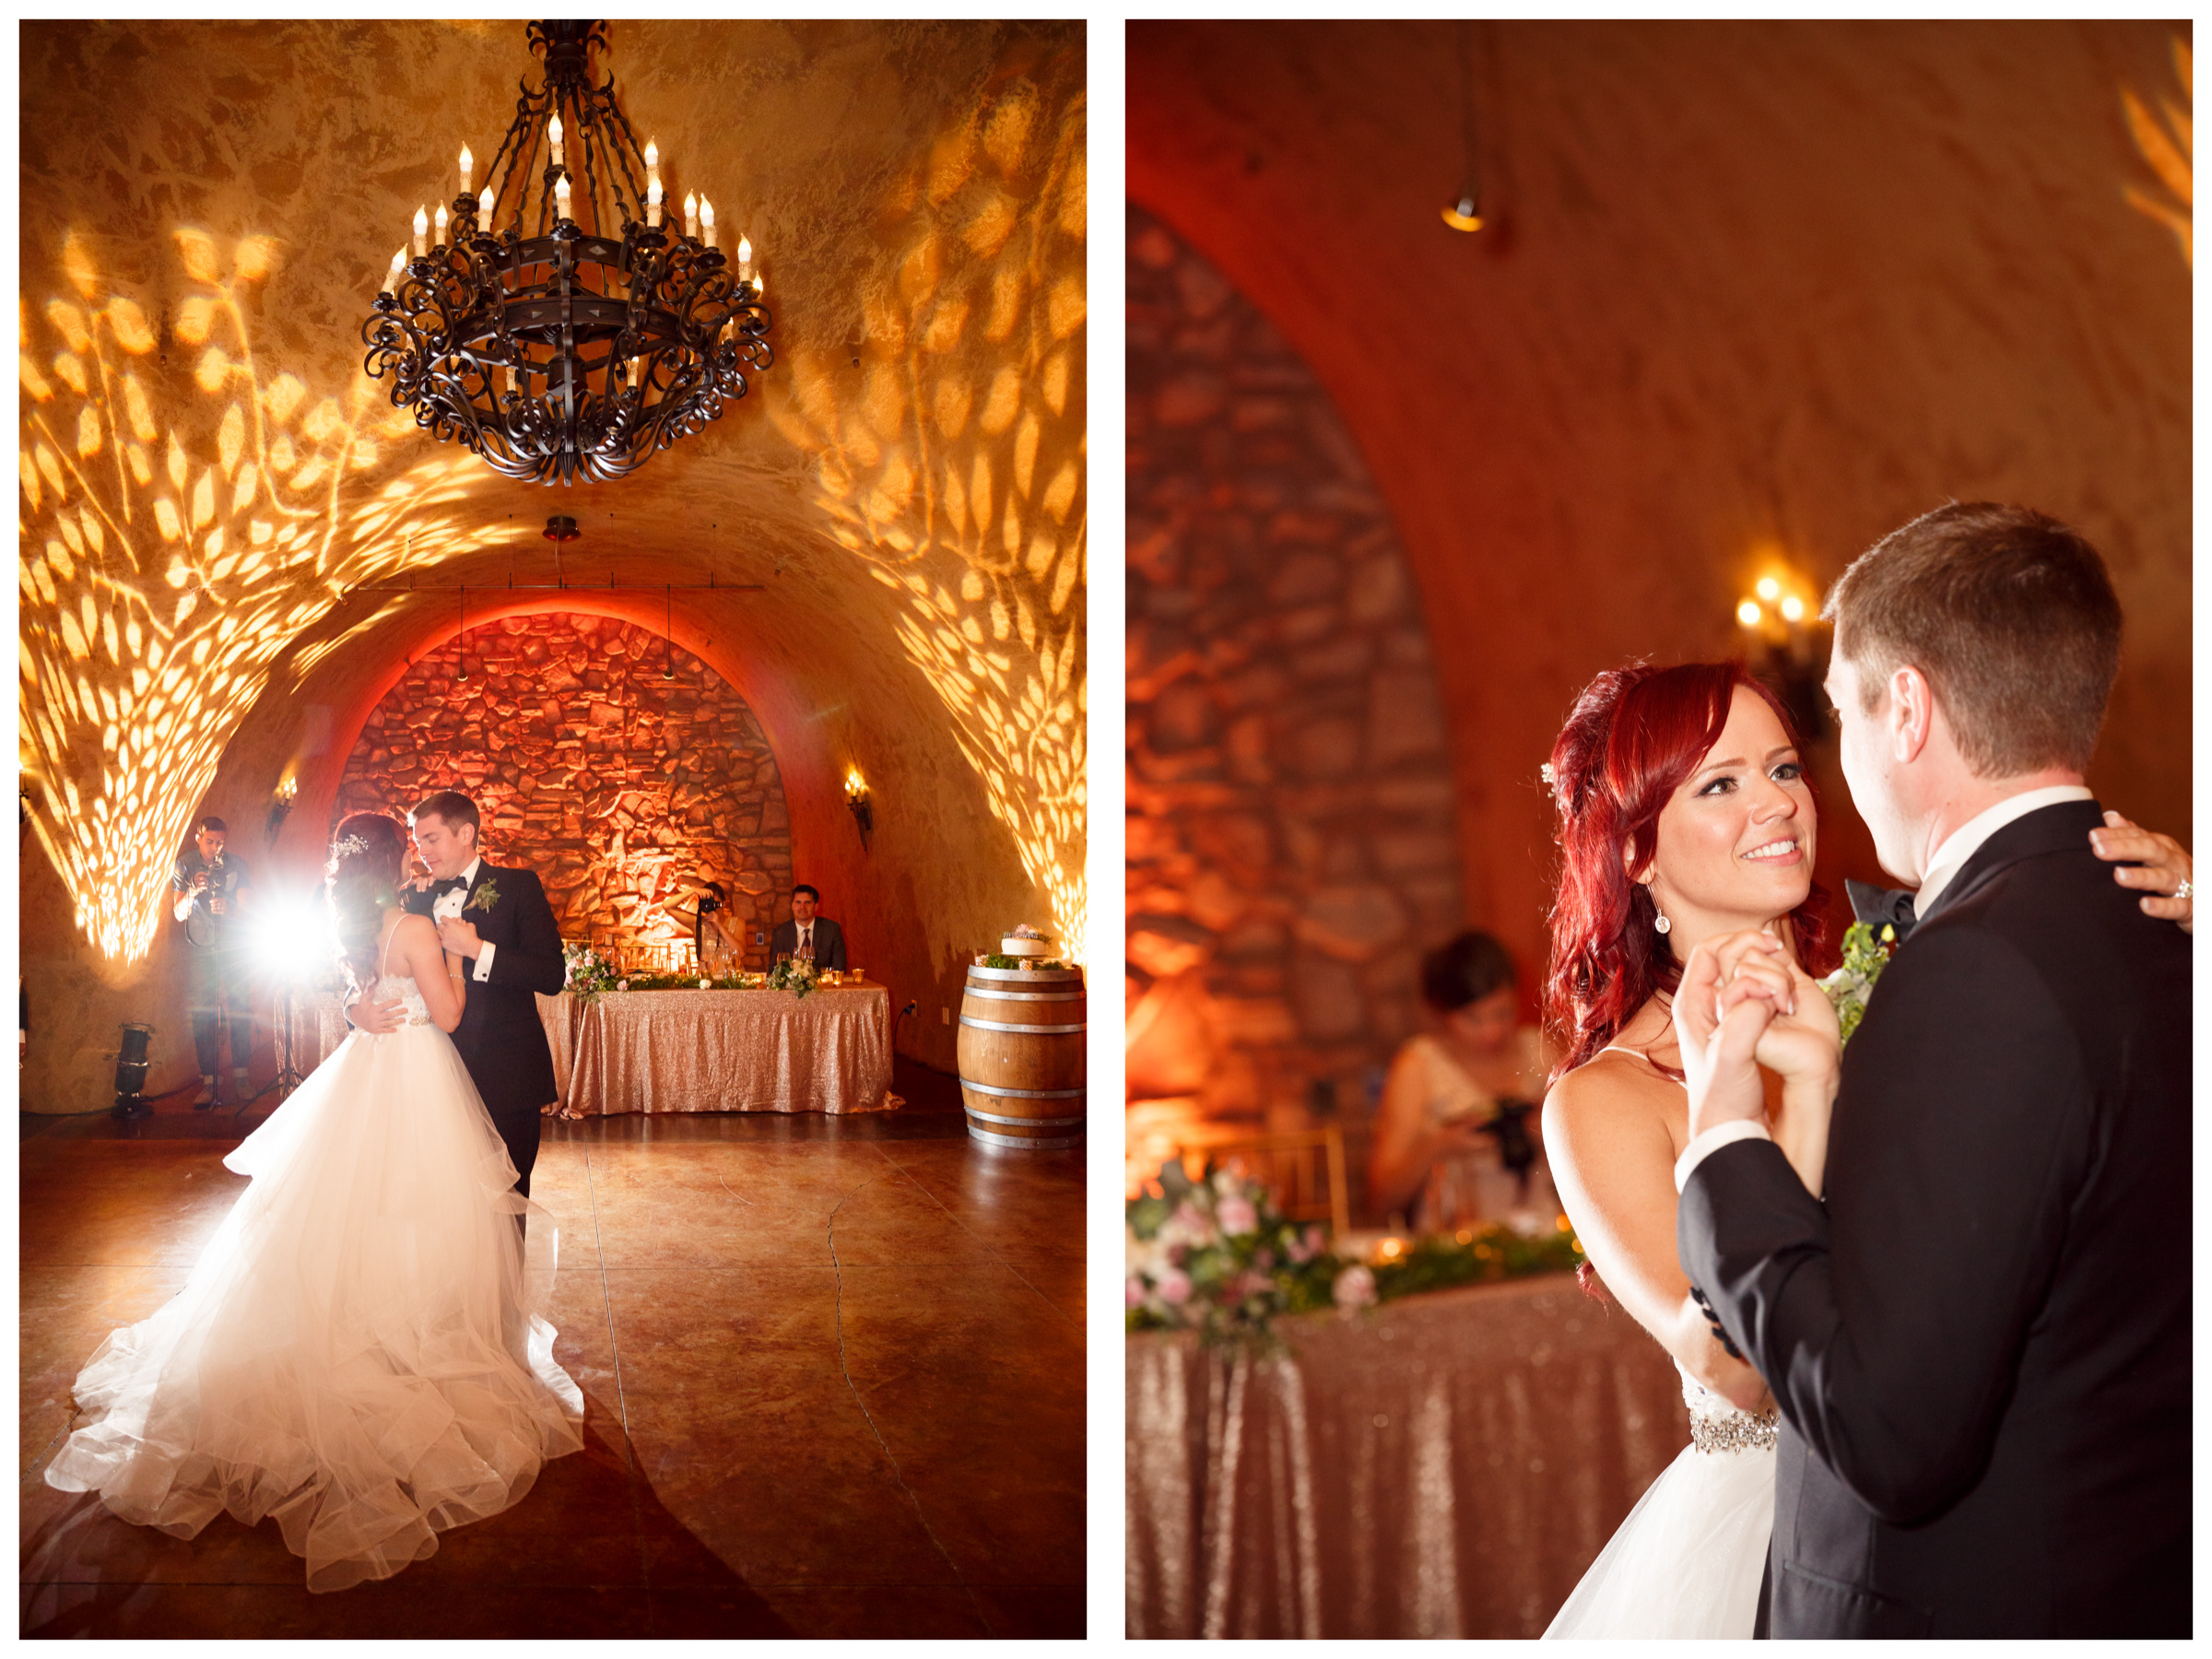
Years ago my good friend and colleague Megan Reeves and I sat in her basement and experimented with many of the things I’ve talked about so far, especially this last part – off-camera flash. (Thank you, Megan!). We even invested in a set of Pocket Wizard mini-transmitters together that we then shared between us for our weddings to come. This was before Canon released the radio transmitter model of it’s Speedlite (the 600 EX-RT I mentioned earlier), a flash that could be paired with an exact partner and communicate very efficiently. The Pocket Wizard setup had one piece attached to the camera and another to an external flash, and facilitated that communication. Either way, the idea is that the camera takes control of the triggering of not only the flash actually mounted to it, but also a flash across the room. That off-camera flash will fire during the shot, creating a gorgeous depth and backlighting to an image that could otherwise be ‘flatted’ by a single source of light. (None of this, of course, is new to studio photographers, but we natural-light photographers are faced with doing this in a living-breathing-realtime setting and need a far simpler setup to achieve the desired result).
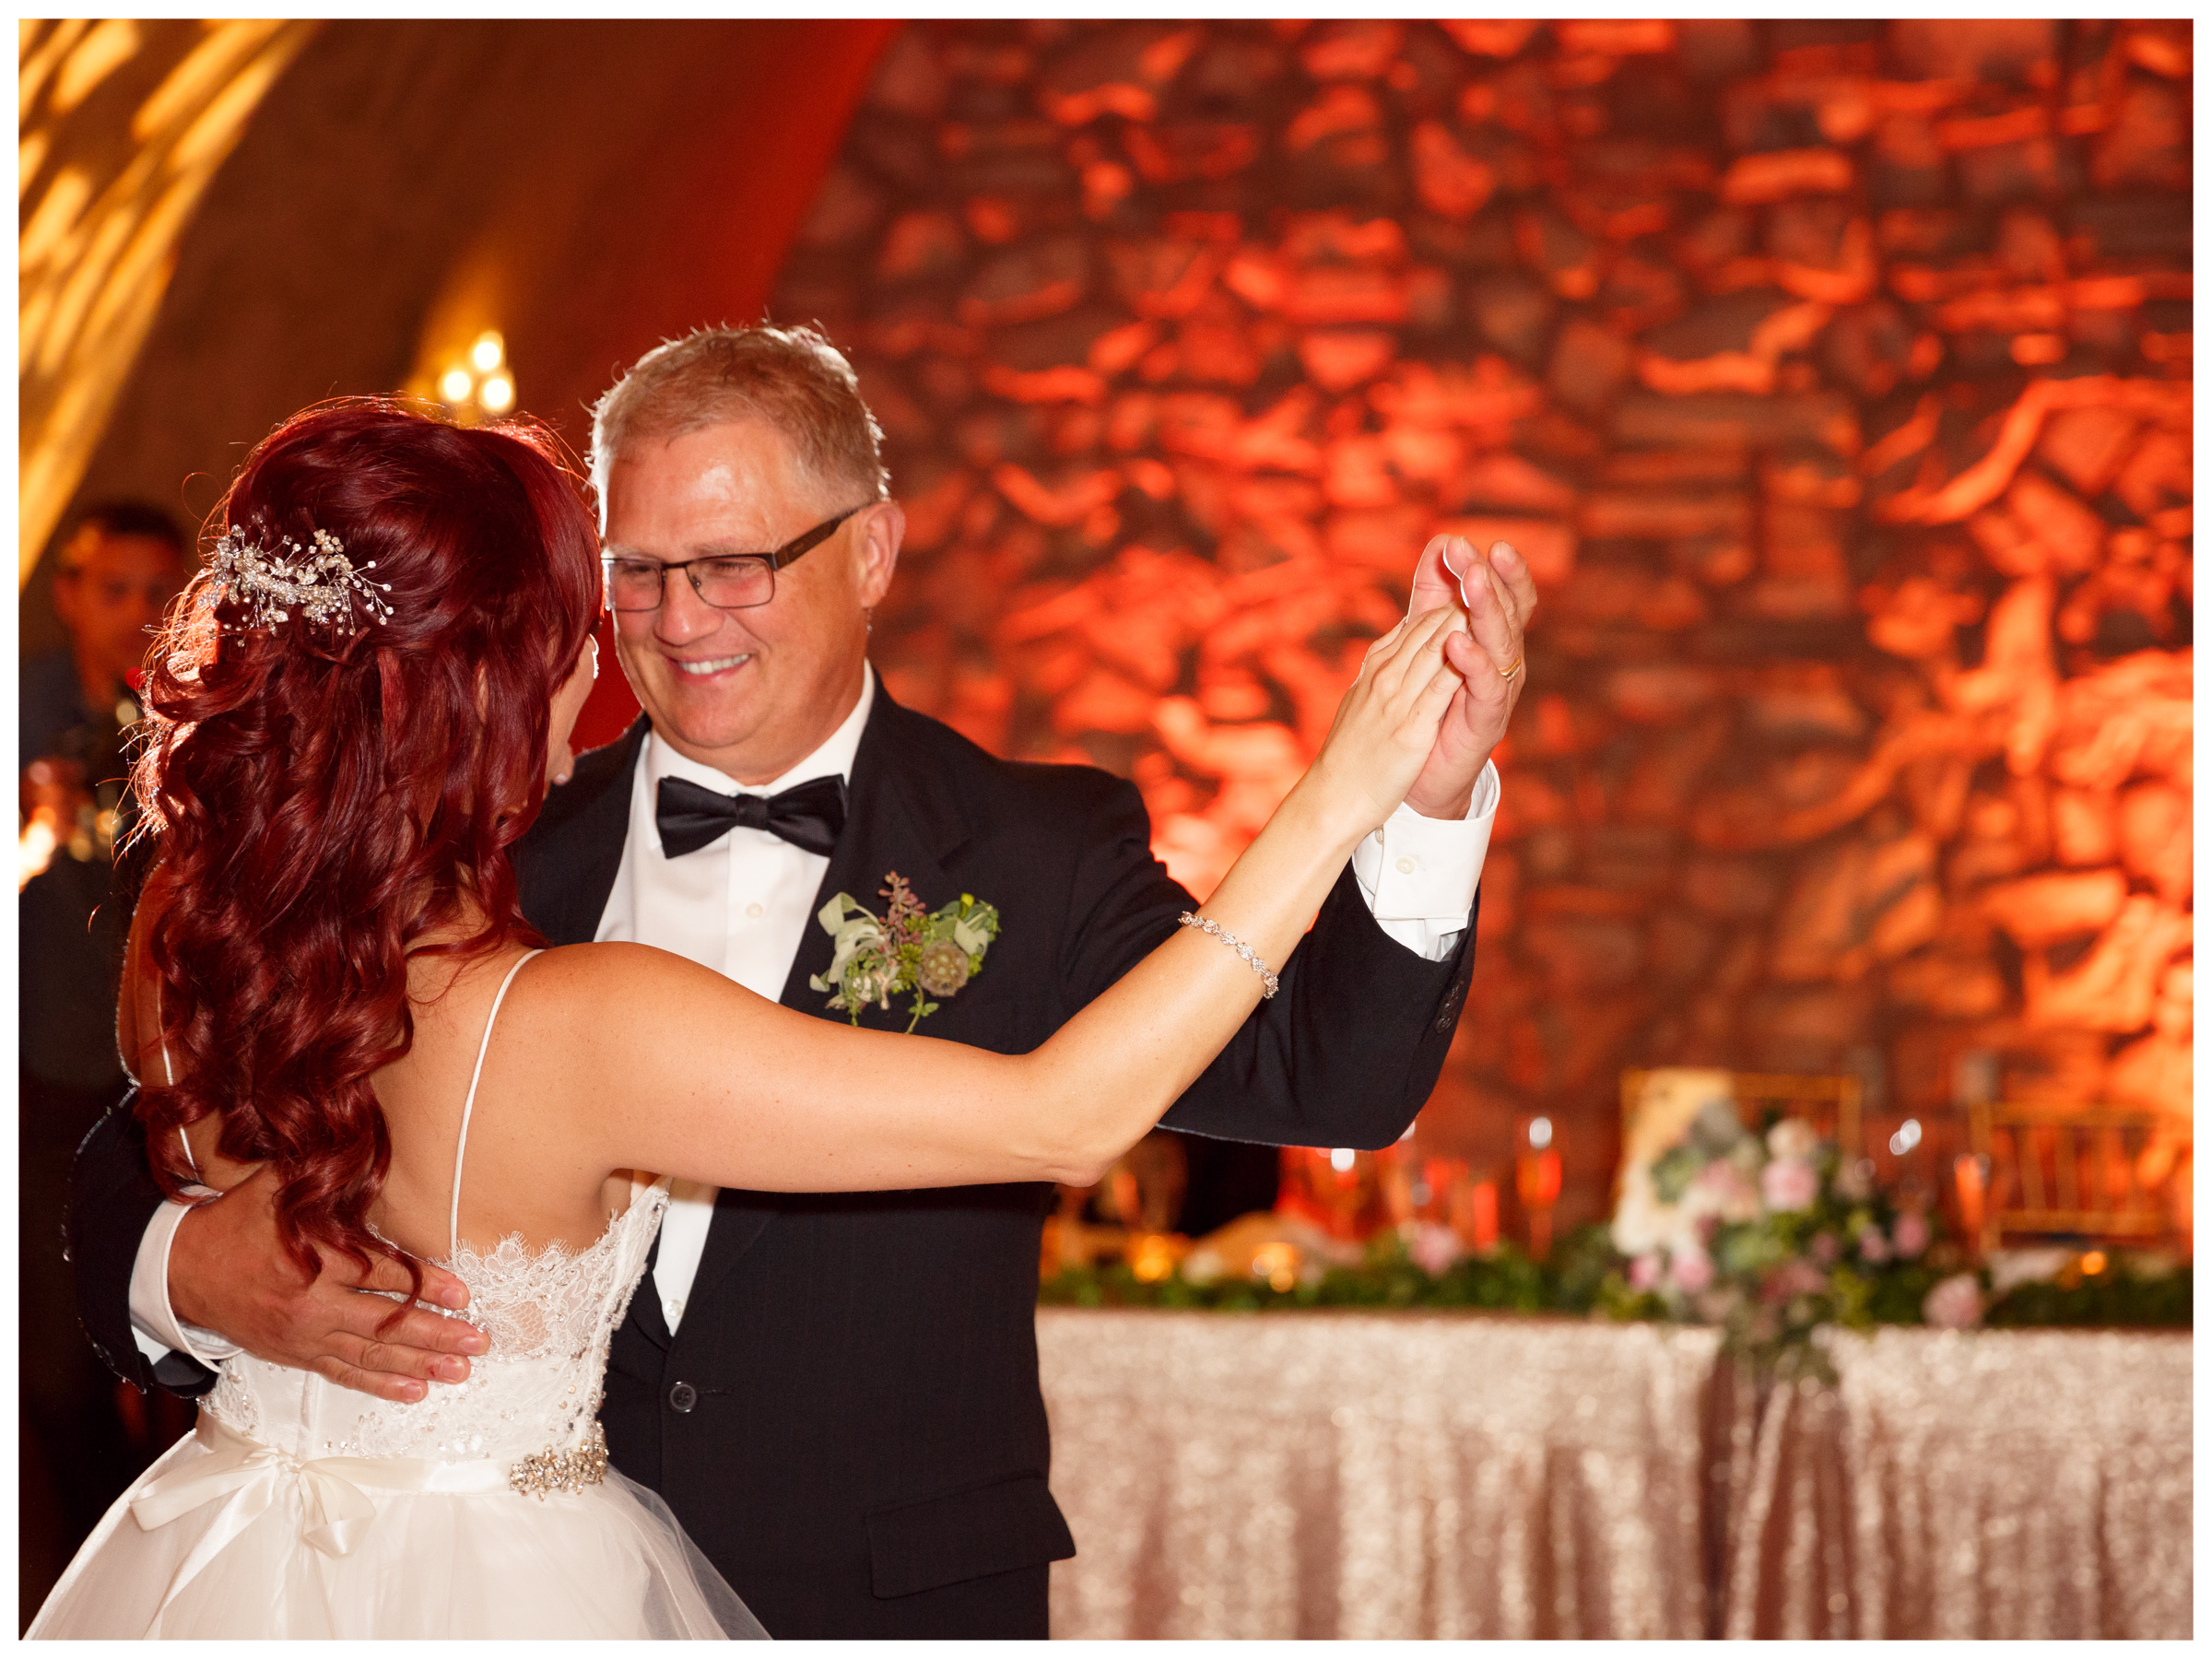
Several of the images below show the results of my use of a pair Canon Speedlites. I like to use the off-camera flash for a bit of back-lighting, or a flare of light, to add depth and texture. Or it can be positioned to the side of the frame for a dramatic wash of light. You might go exclusively with the off-camera, and switch off the on-camera flash, creating a very dramatic effect if that’s your thing, too. Basically, playing with an off-camera flash – simple, lightweight, and reliable – is just fun at this point in the evening. In another post, I’ll share exactly HOW I use the two flashes and what settings I use when doing it. But for now, the takeaway here is that an off-camera flash is a great, though optional, ingredient to my ‘great images even in a darkened space’ approach.
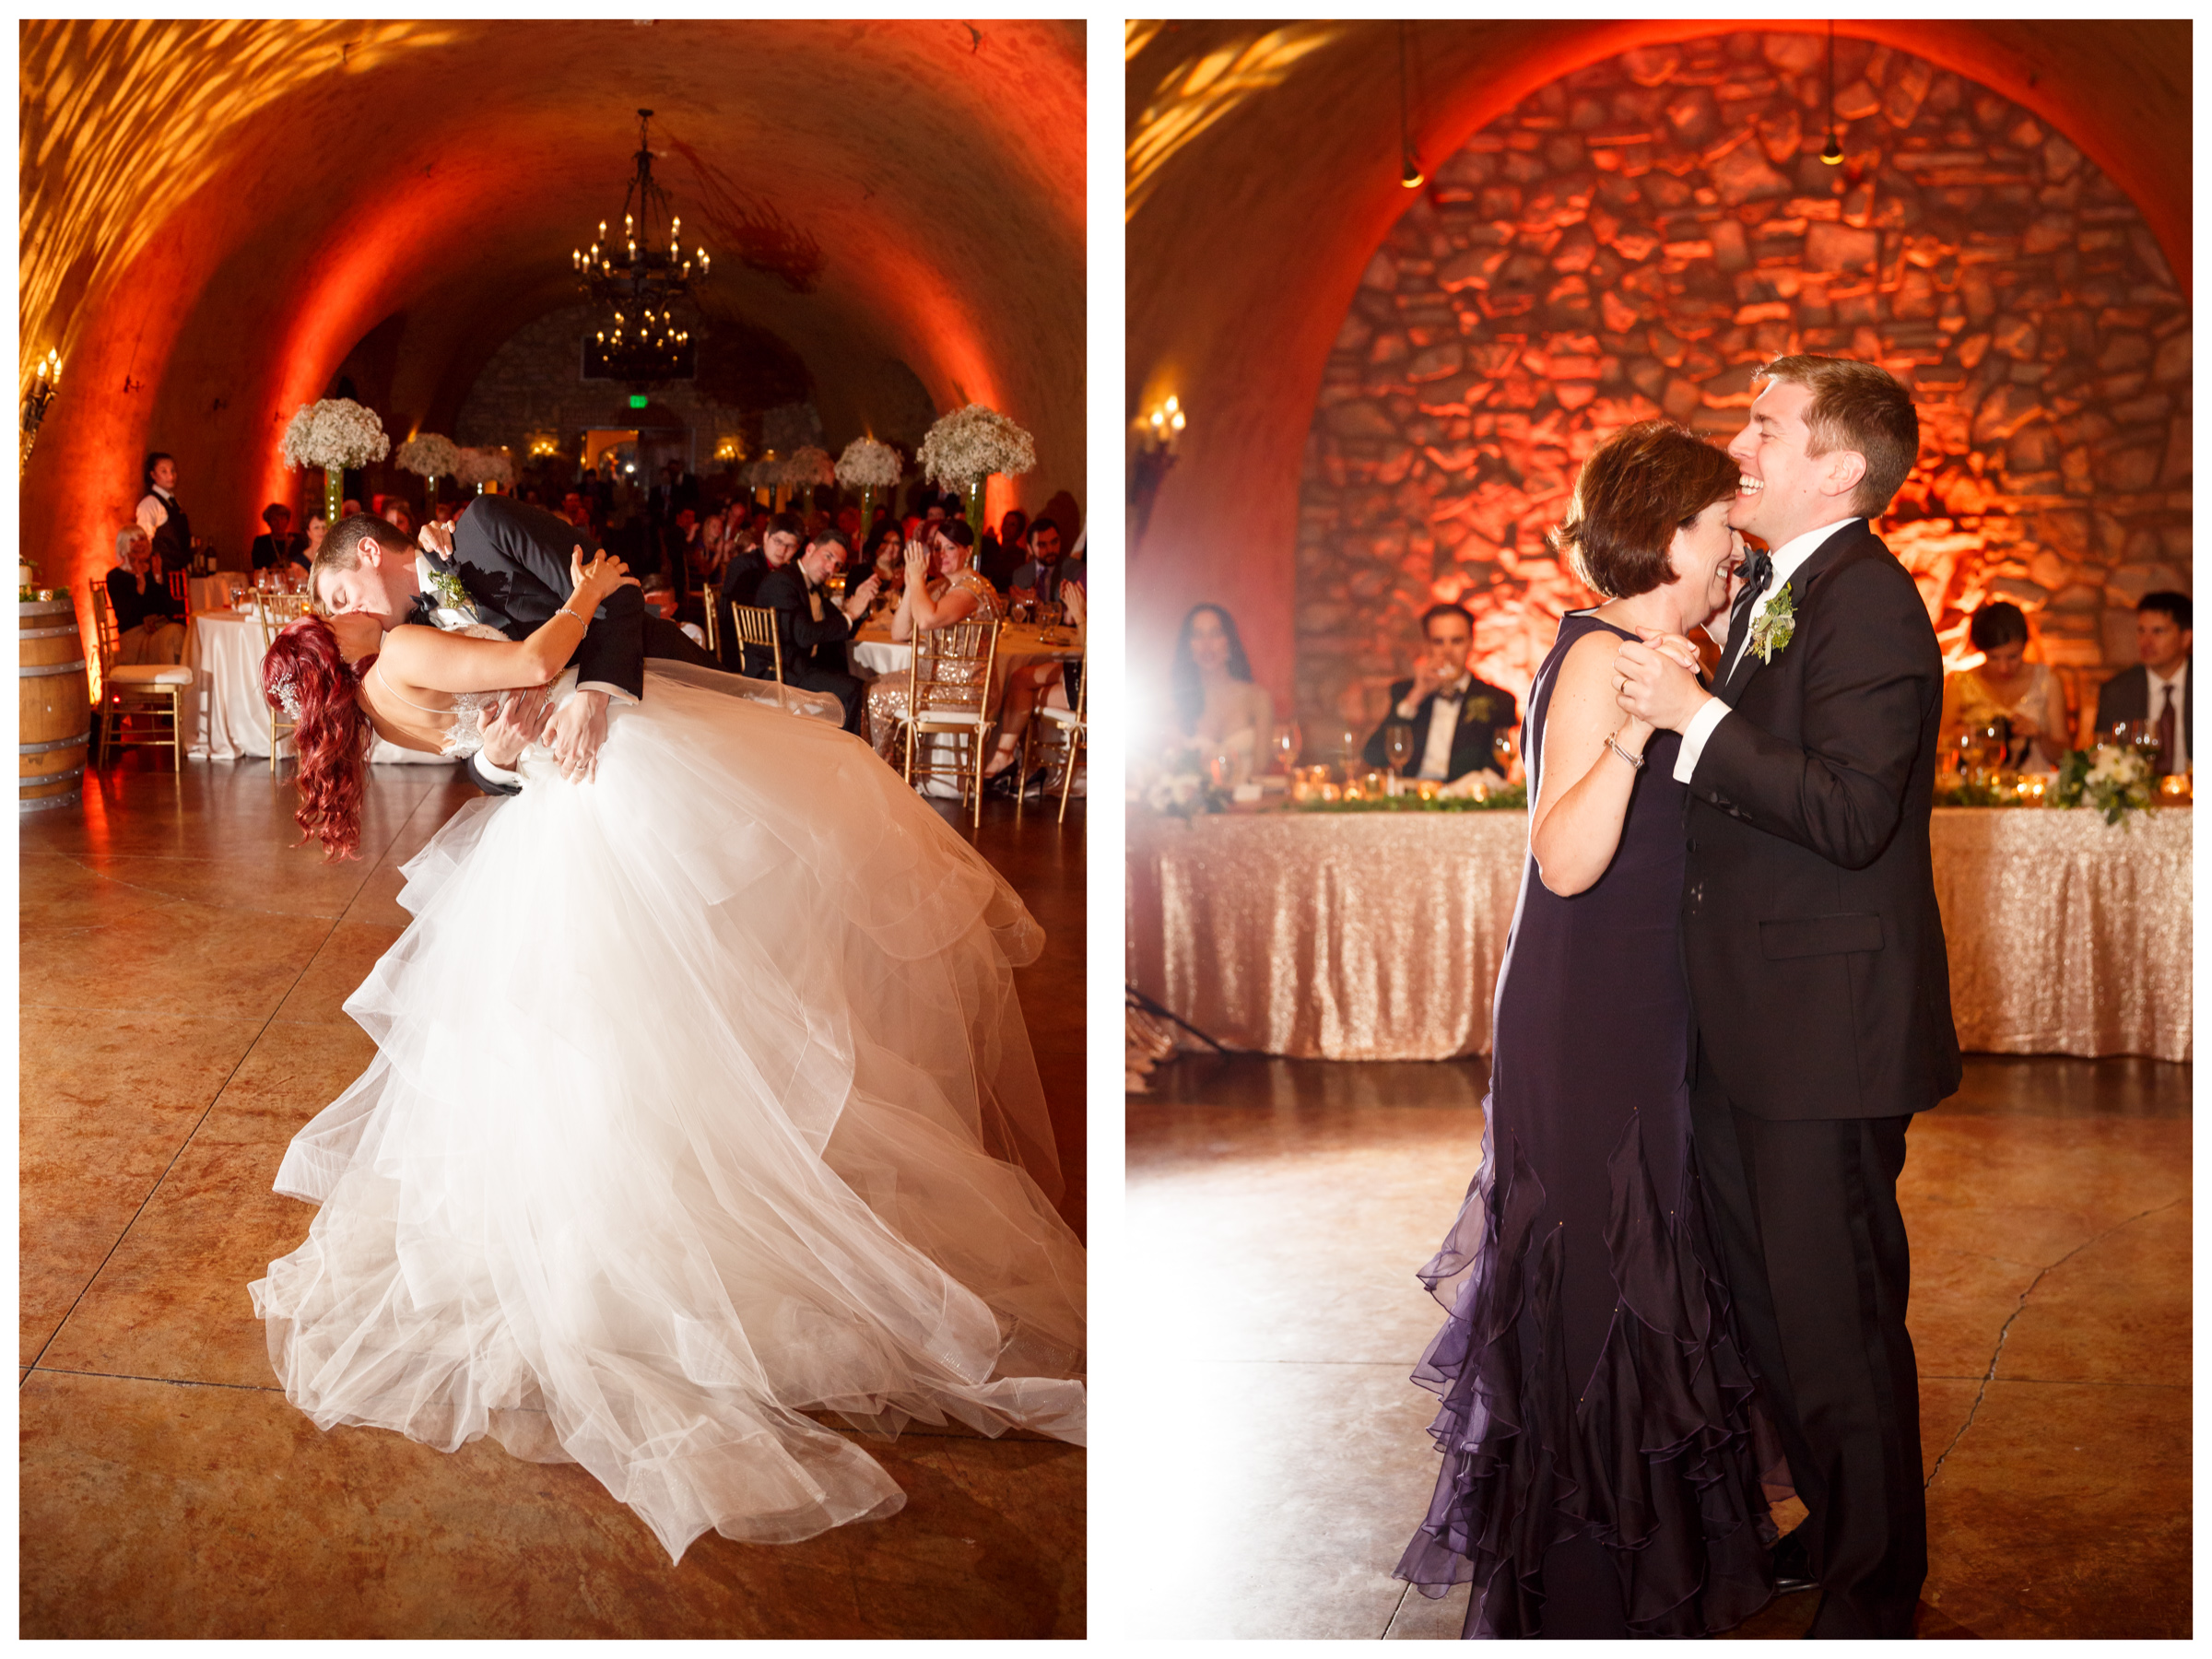
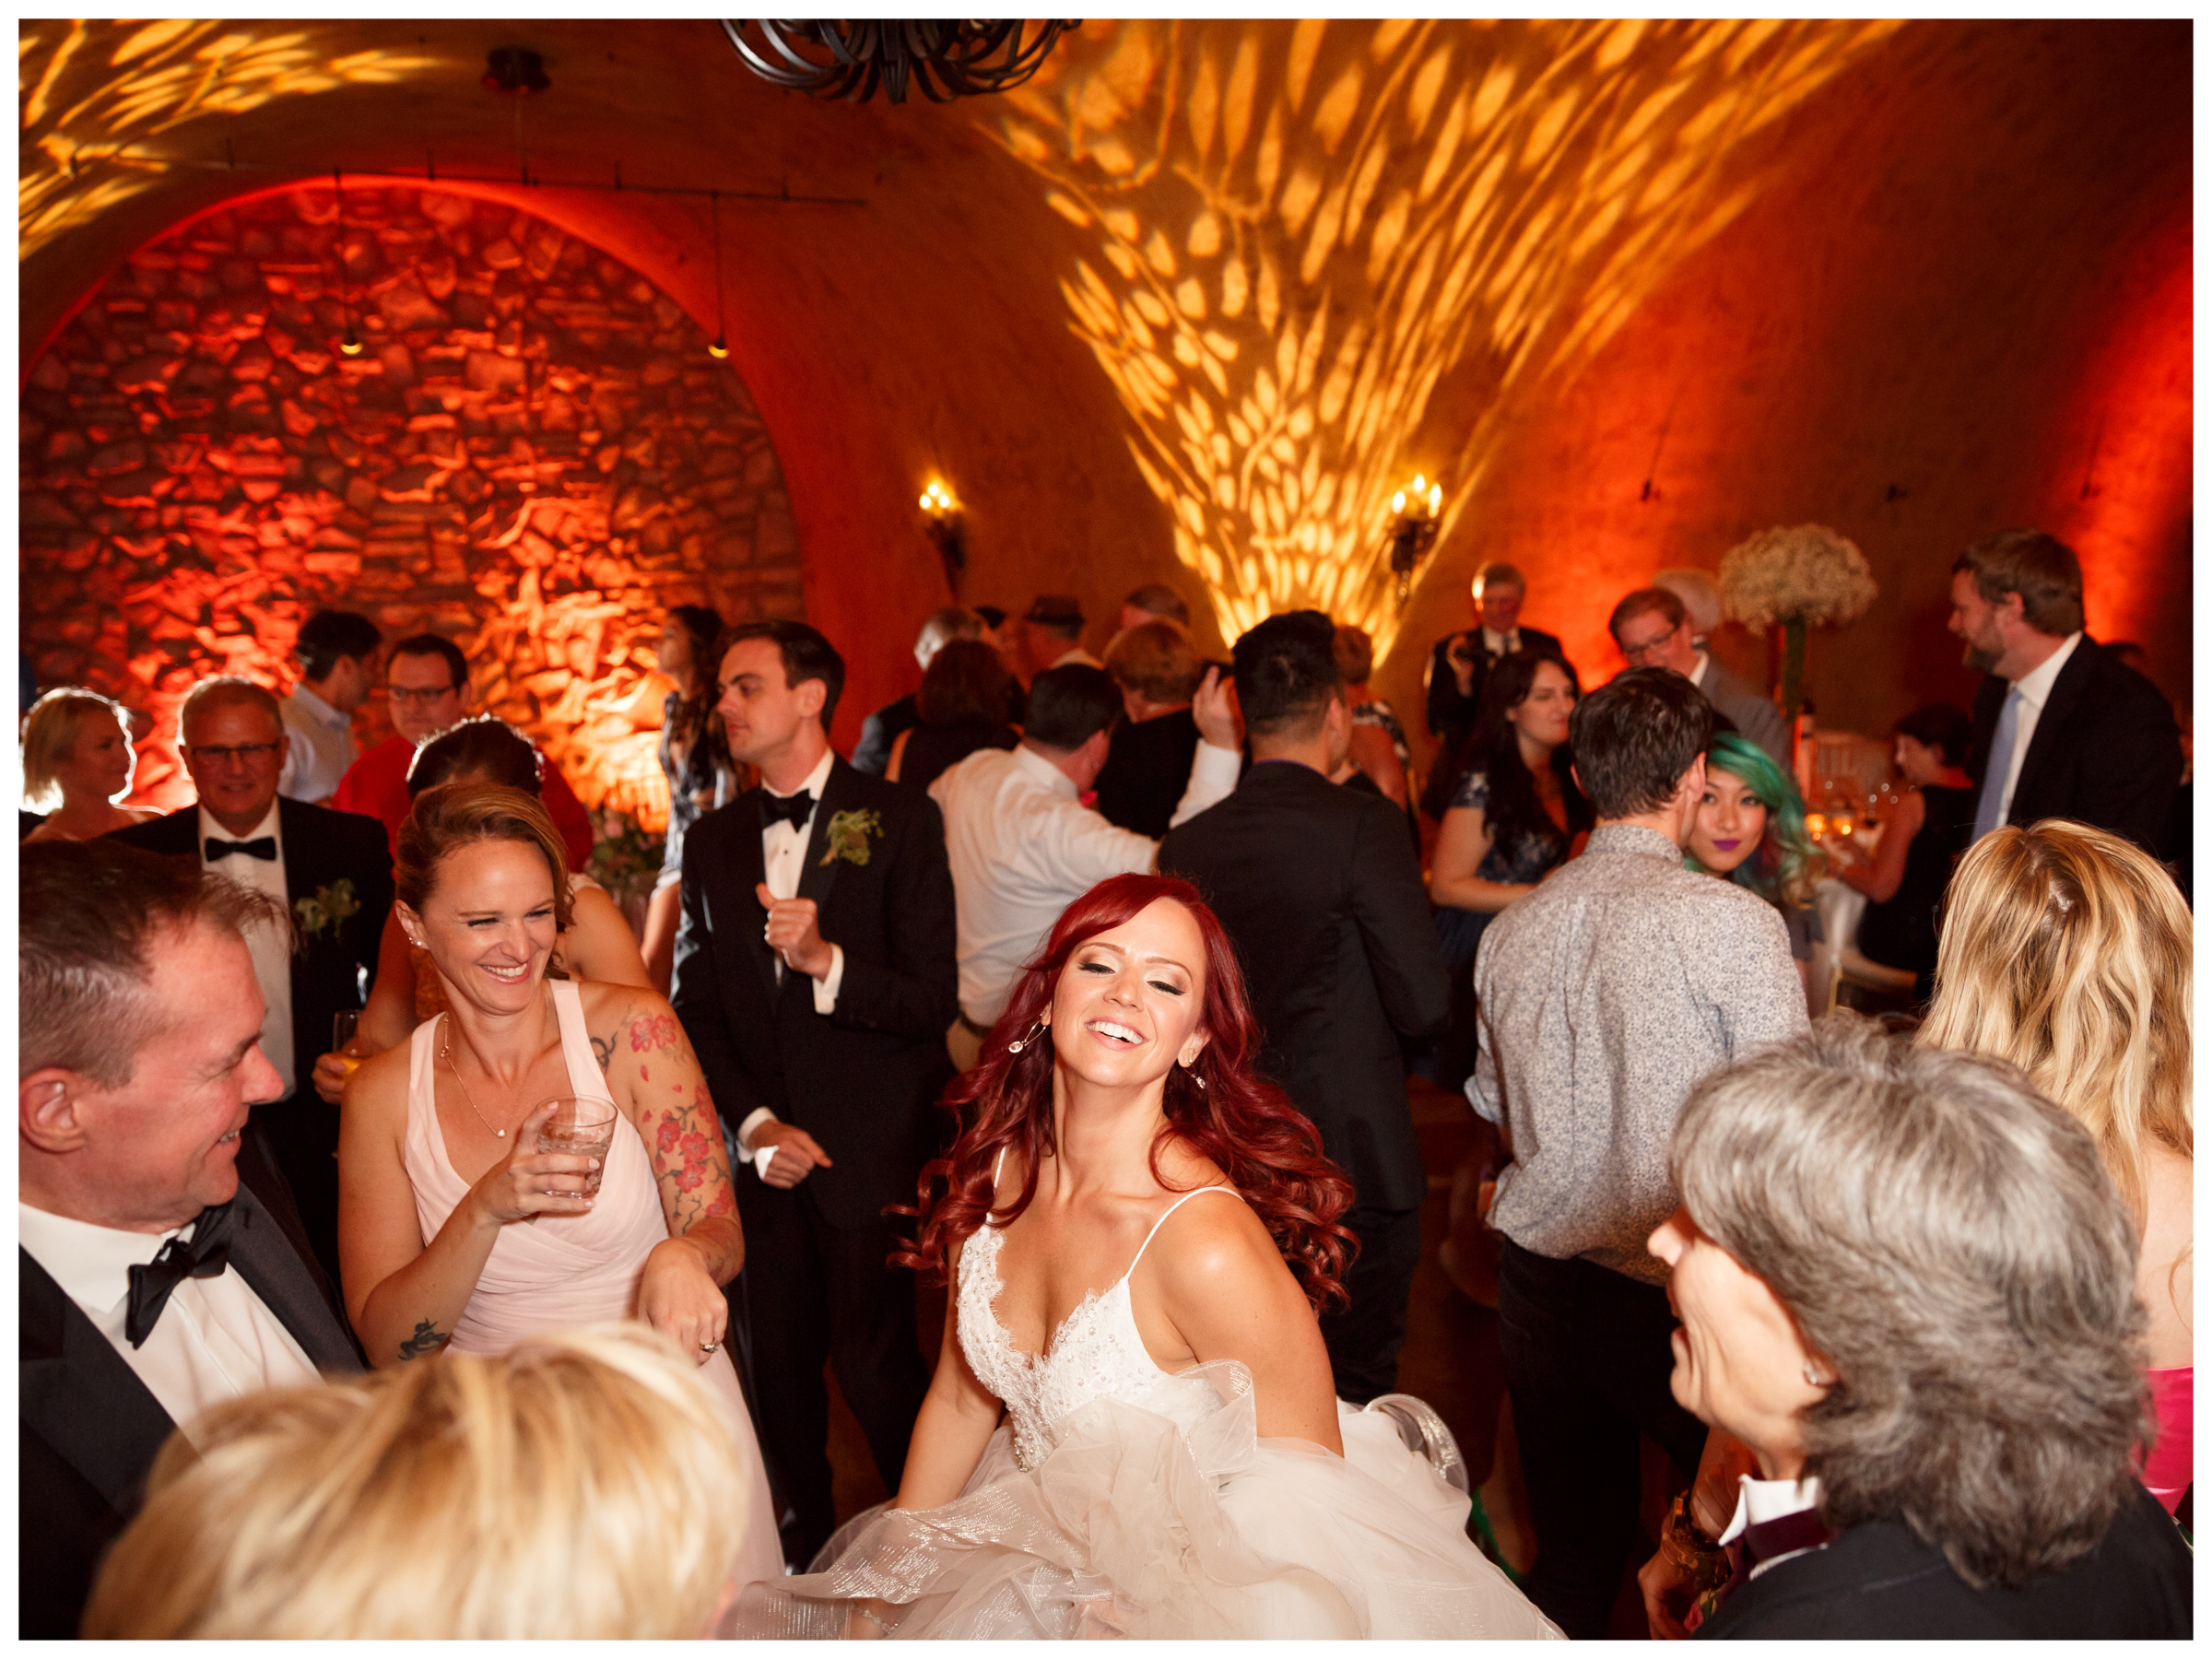
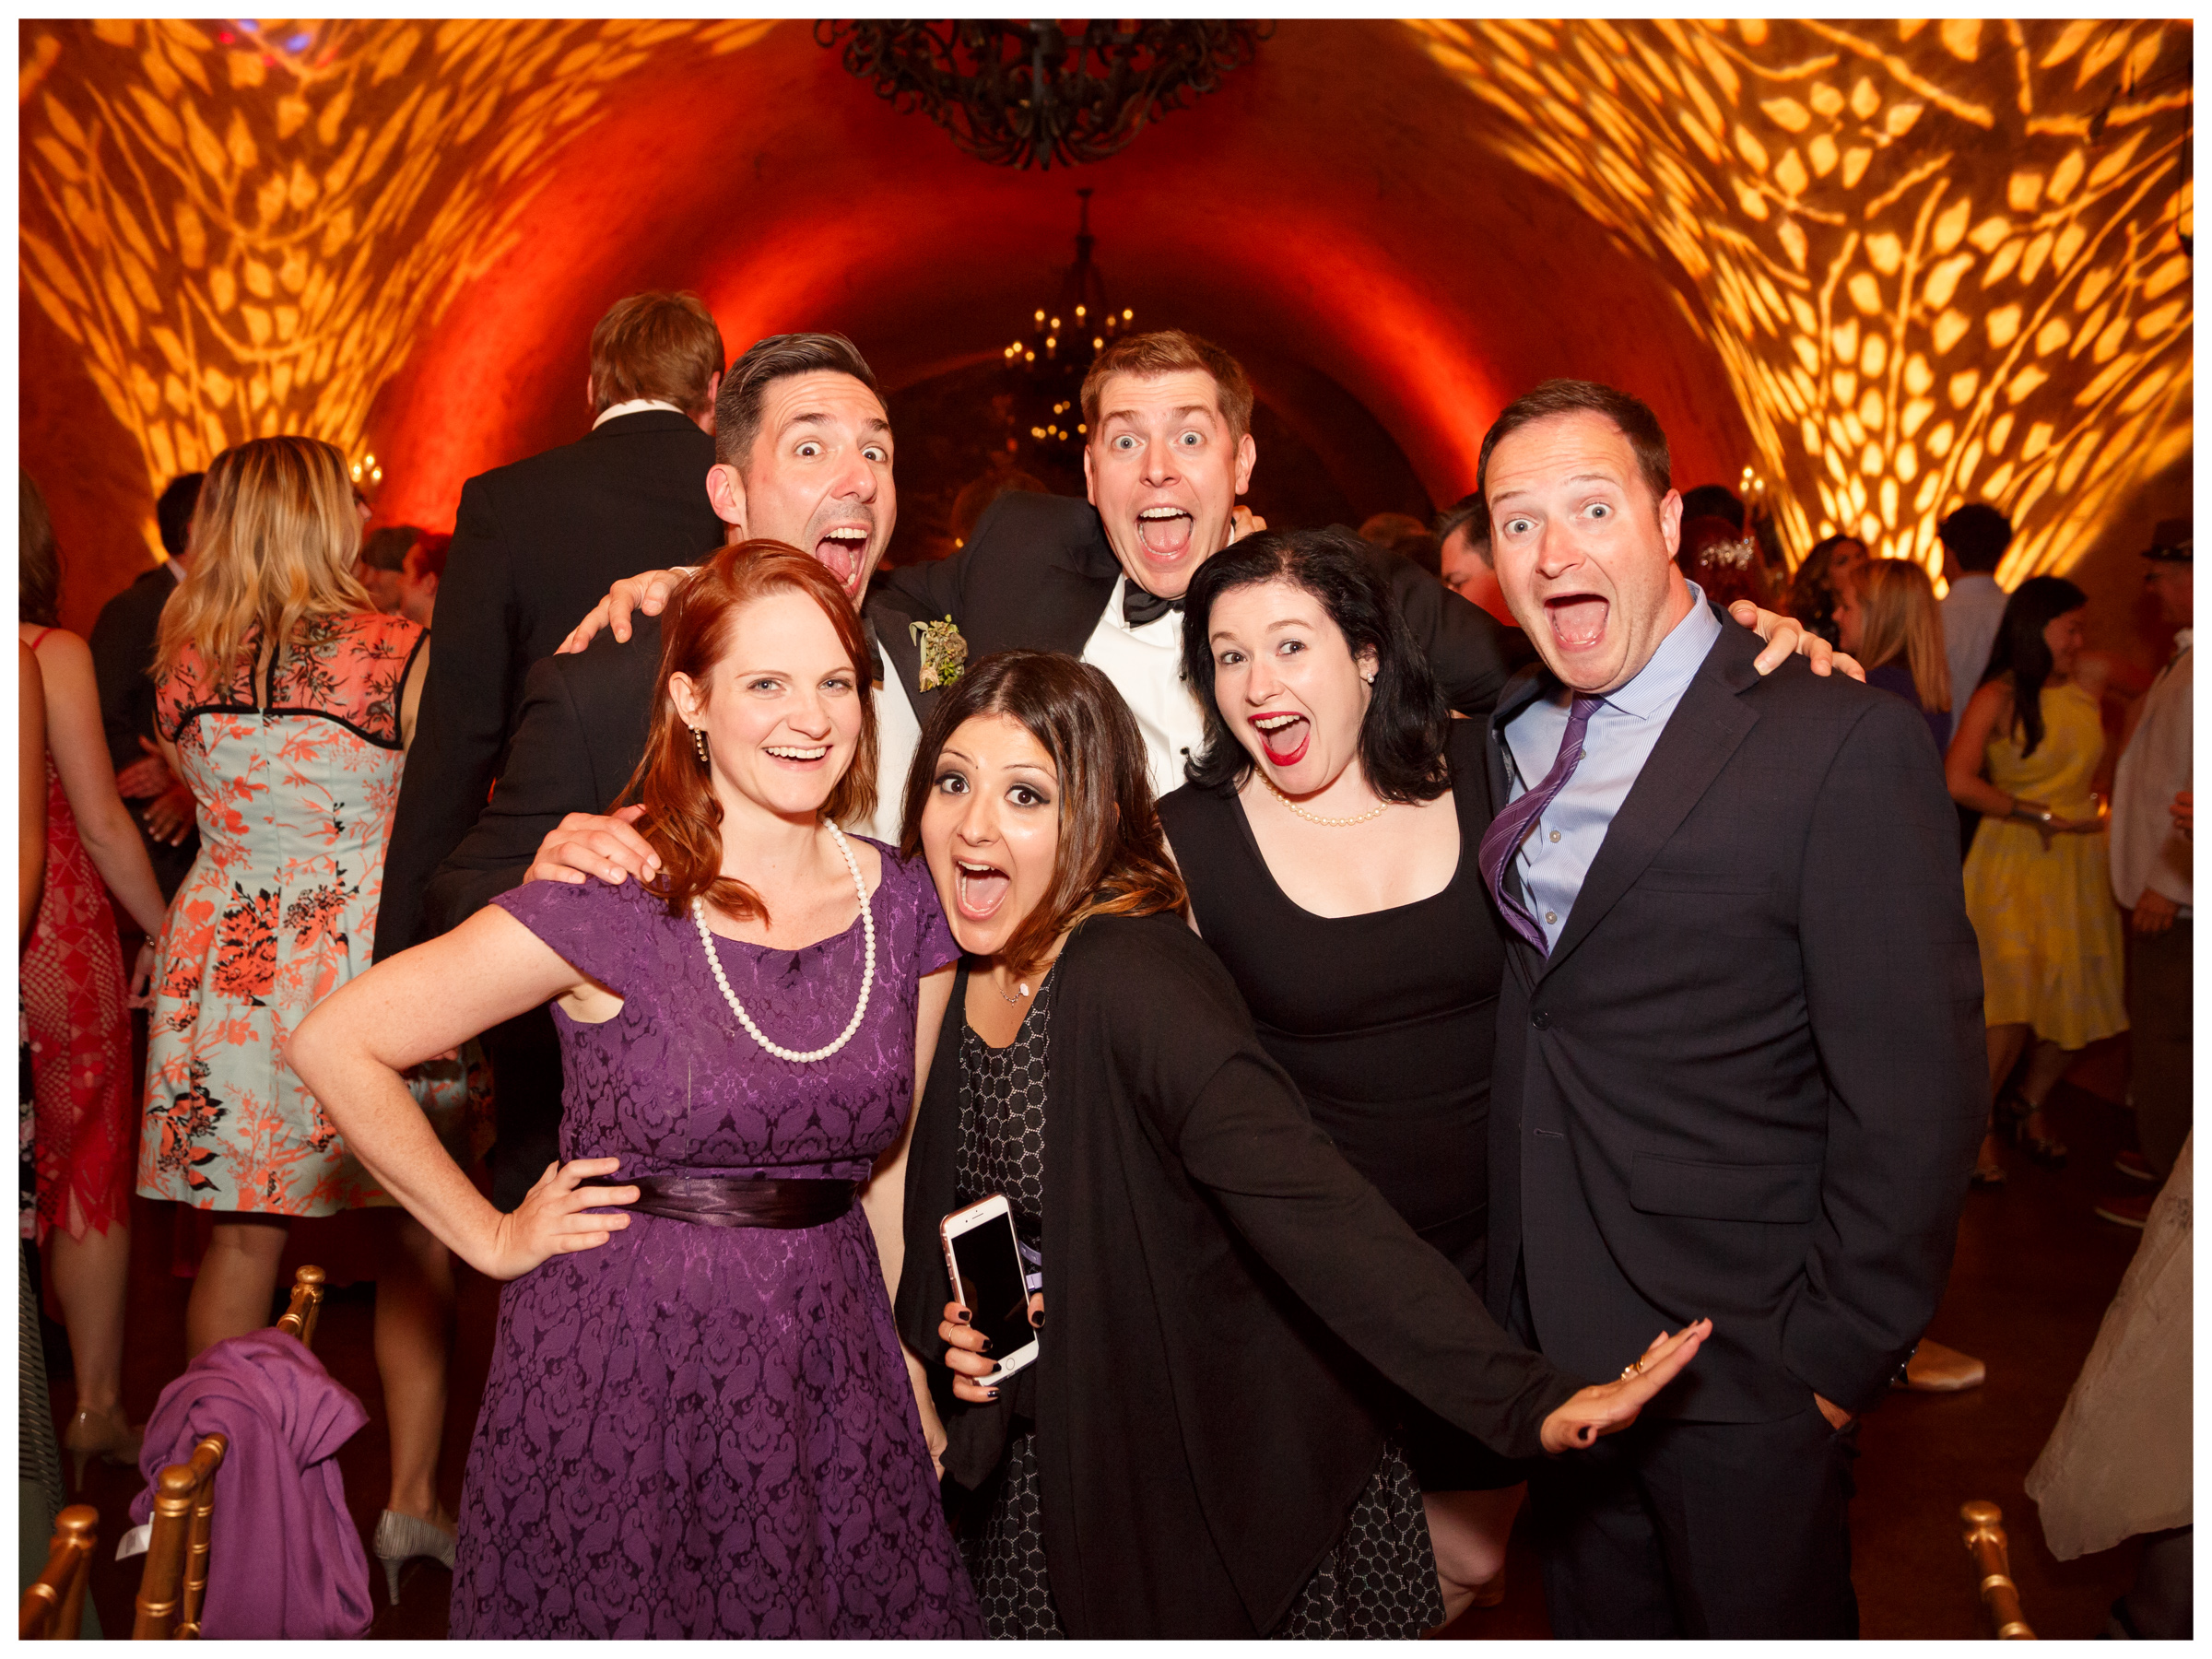
And then we go back to natural light, the best friend and true love of my tribe of wedding photographers. The image below is one that I like to try to capture at each of my weddings – the nighttime property shot. It’s the only time I pull out my tripod, and the only time that everything I said above goes completely out the window. A nighttime tripod shot is all about 1) low ISO + 2) small aperture + 3) very long shutter speeds. Set the camera on a tripod, press the shutter button, and wait 5 – 10 seconds. Done.
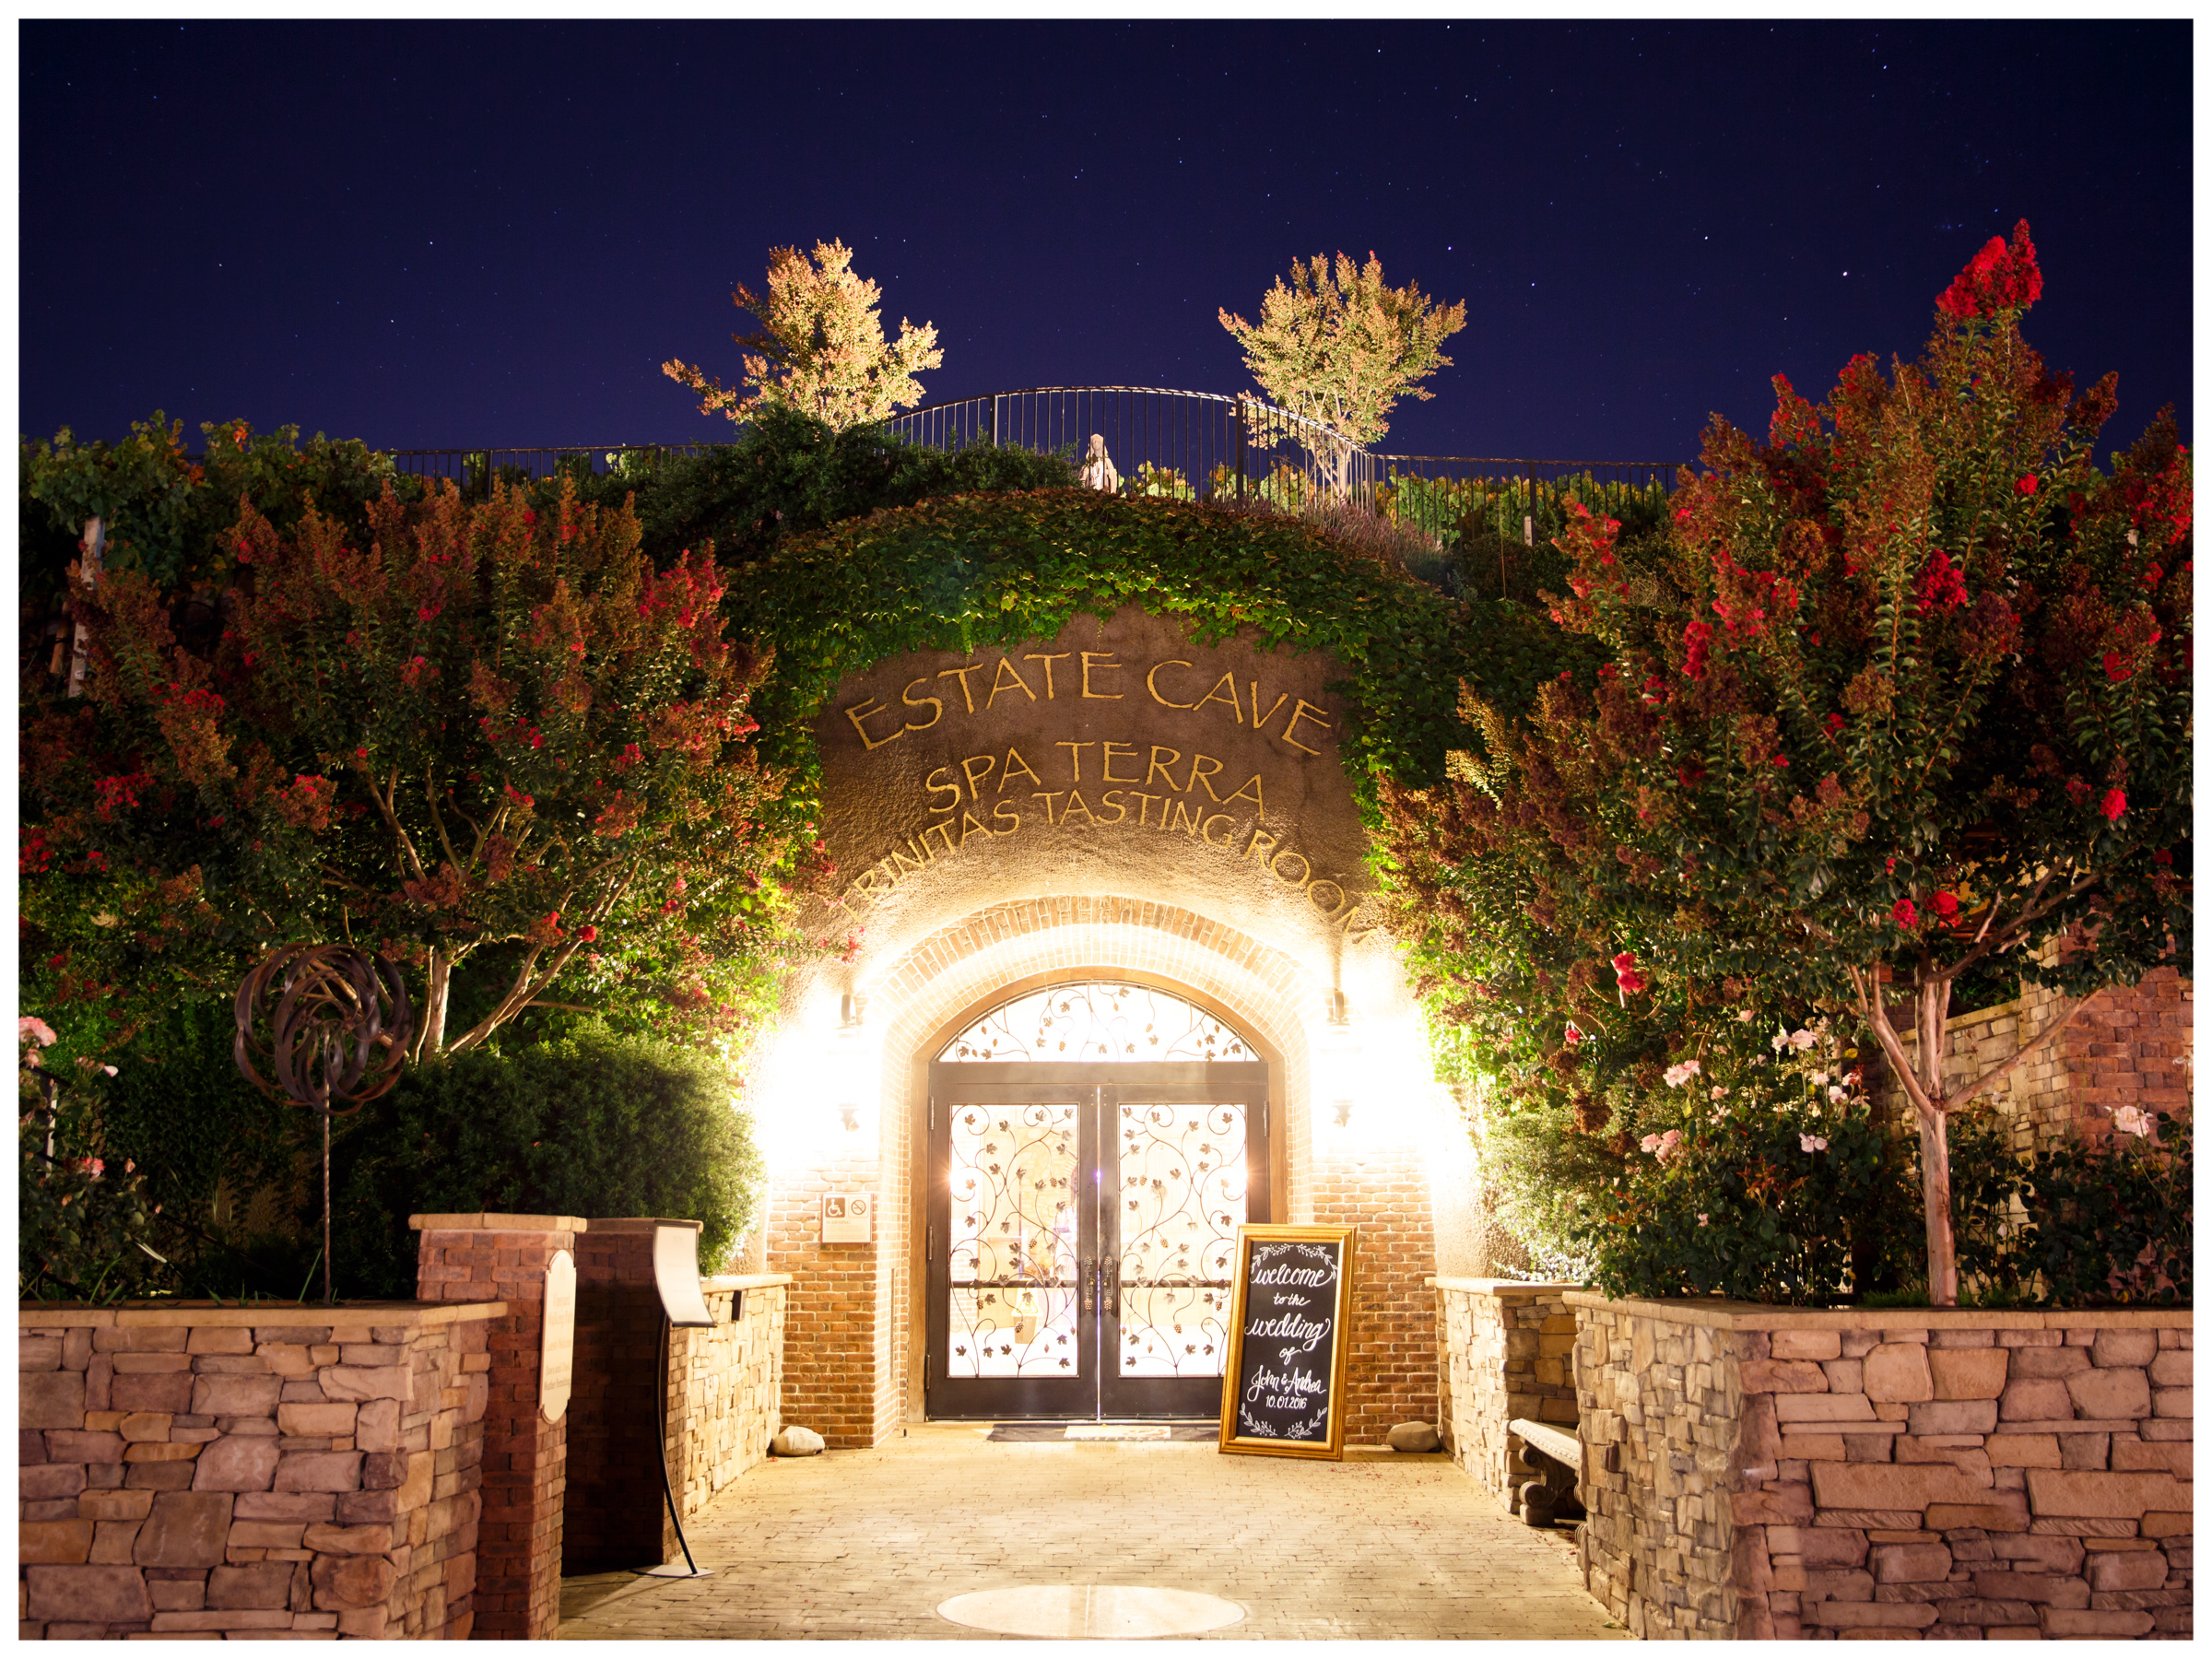
More to come to photographers out there who – whether new or veterans in your trade – are still learning.
xo – Jen
This is SOOOOO GOOD! You have the gift of teaching! I’ve just started shooting weddings using OCF and pocket wizards. So true about natural light photogs seeing our flash as the enemy rather than partner. I’m learning to make friends with it!! Thanks for posting!
Thank you so much, Rebecca! Have fun experimenting now that you’re using OCF – it’s the best way to learn! 🙂